| This process Addresses the Mechanical Disassembly of the Robot and does not address the Electronics. Accompany this Procedure is additional pictures that you can expand to see more details as needed. This Robot has IC's and Transistors and are of the earlier designs. Static discharge can damage the electronics. It is recommended that you have and use a Static grounding wrist strap. |
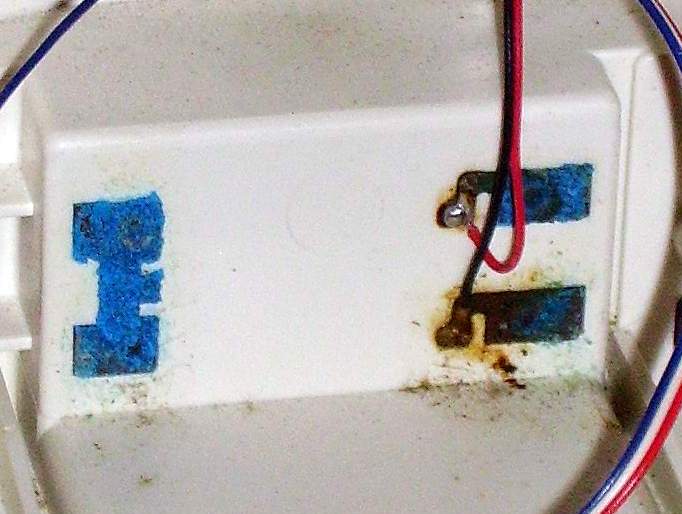
(Before) Bad Original
Click on image |
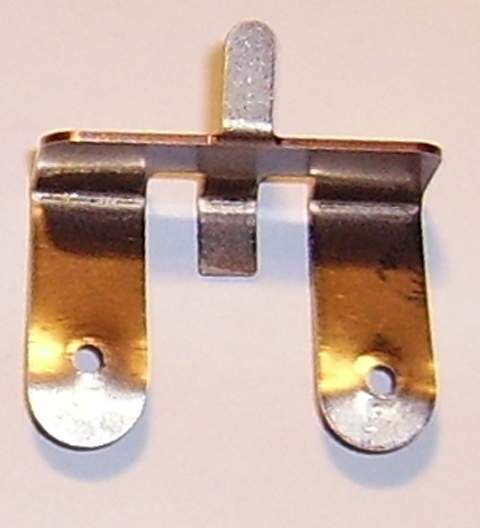
(After) Replacement
Click on image |
(Before) Bad Original
Click on image |
(After) Replacement
Click on image |
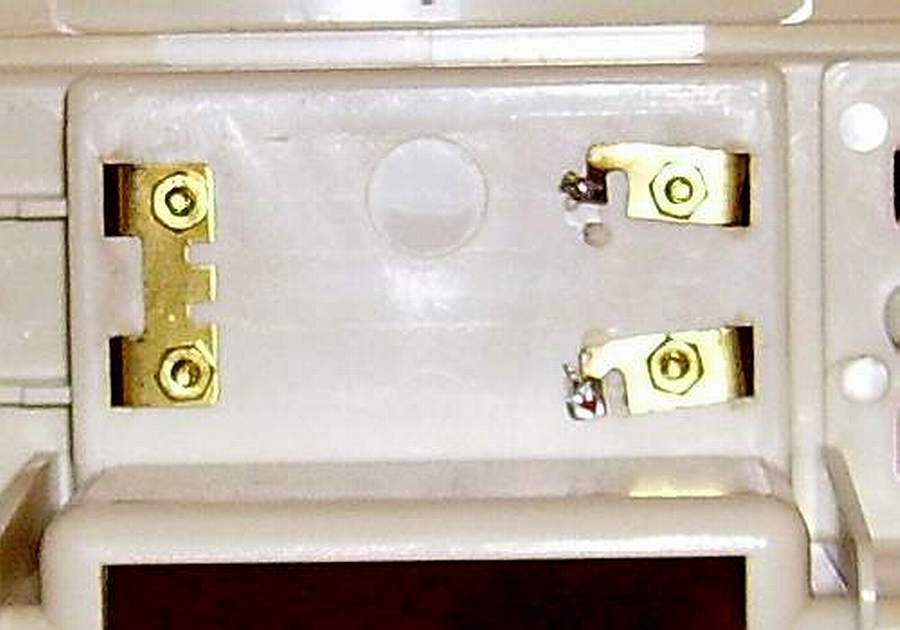
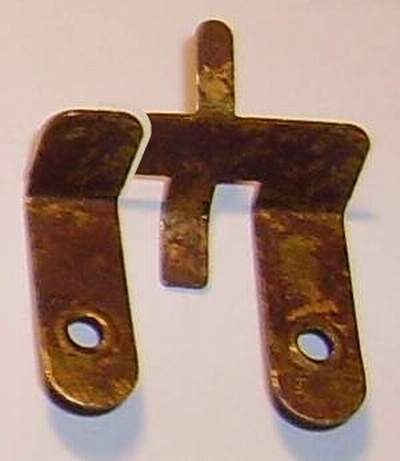
| The above figure is the contacts in the Omnibot 5402 that needs to be replaced. They are corroded and not usable. (Replace) |
The above figure is the contacts in the Omnibot 5402 that has been replaced. |
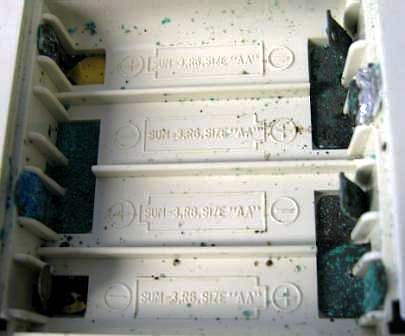
The above figure is the contacts in the Omnibot 5402 that needs to be replaced. They are corroded and not usable. (Replace) |
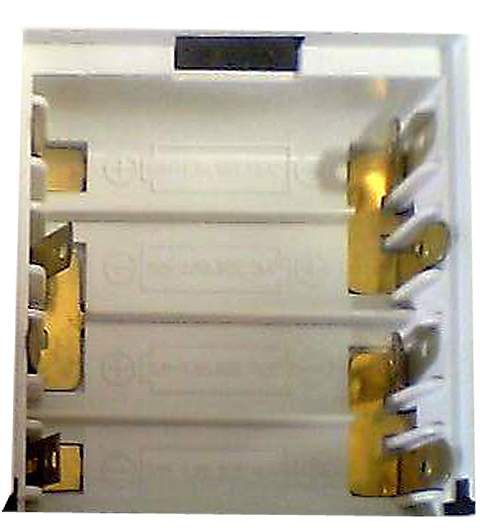
The above figure is the contacts in the Omnibot 5402 that has been replaced. |
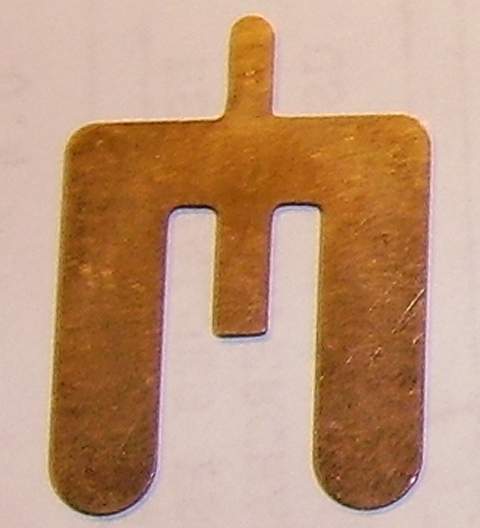
Refurbushed - Replacement Contact for the Omnibot Family Robots

Bad Original (Replace)
Click on image |
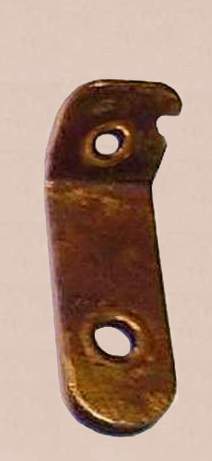
The following figure on the left is contacts taken from a Omnibot 5402 Controller that is corroded and not uasble. It has to be replace. |
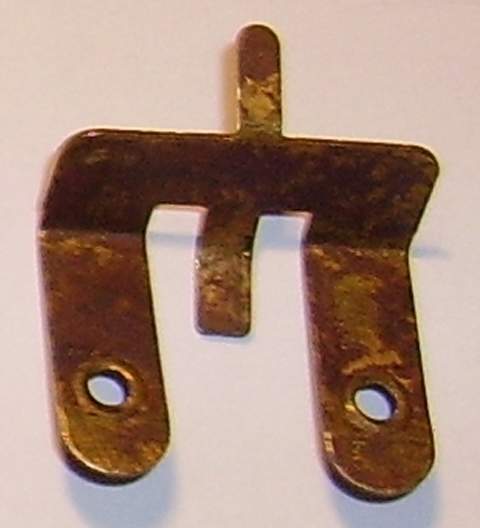
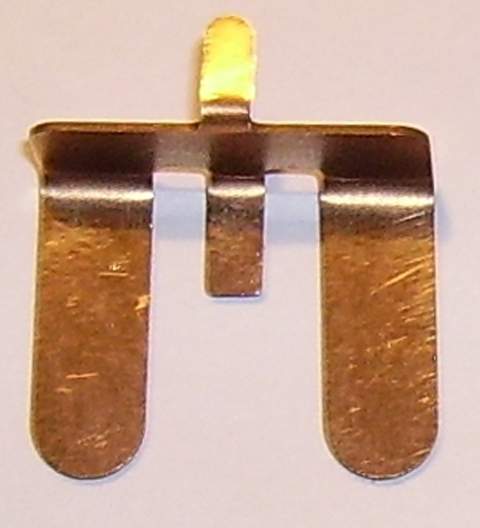
Refurbushed Original
Click on image |
The following figure on the left is contacts taken from a Omnibot 5402 Controller that was corroded and not uasble. It has been refurbushed and can now be reused. |
Replacement Material Information for Contacts. . . . . .
Battery Material Contact Guide
Material Contact Guide .pdf - [ Download ]
Replacement Contact for the Omnibot Family Robots
Click on image |
Click on image |
Click on image |
Click on image |
| The following figure on the left is contacts taken from a Omnibot 5402 Controller that was corroded and not uasble. It has been refurbushed and can now be reused. |
Step #1. Cut the contacts at the appropate points |
Step #2. Using a punch indent the contact and then using a drill with a proper bit drill the holes in the contact. You now have a finished part. |
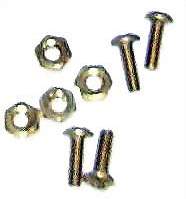
Use Brass 2/56 HEX MACH SC screws and nuts to fasten the battery contacts. |
There is no warranty expressed or implied with this procedure. By using any information from this web site, you agree not to hold responsible this site, me, nor any of its representatives, for any injuries and/or damages, both physical and/or psychological, that may arise from the use and/or misuse of anything derived from this site. The user further agrees that such information/pictures does not constitute any guarantee of accuracy, safety or reliability, and that cannot be held responsible for any way. The user agrees to proceed at their own risk.
Source: My Collection - Updated 11-31-2008
|