This process Addresses the Mechanical Disassembly of the Robot and does not address the Electronics. Accompany this Procedure is additional pictures that you can expand to see more details as needed. This Robot has IC's and Transistors and are of the earlier designs. Static discharge can damage the electronics. It is recommended that you have and use a Static grounding wrist strap.
Replacing Hearoid Omnibot Battery Contacts.
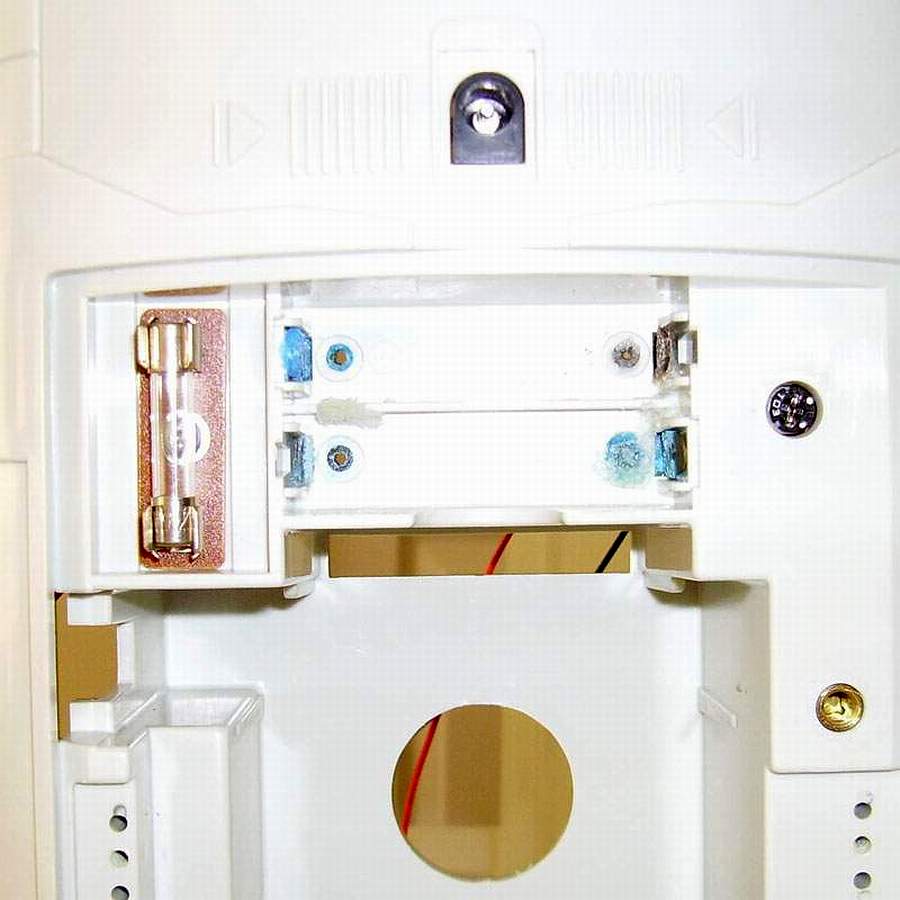
1. Check the wires to insure that you know how they are hooked up. These batteries are wired in parallel.
2. Make sure that the batteries are removed from the rear housing.
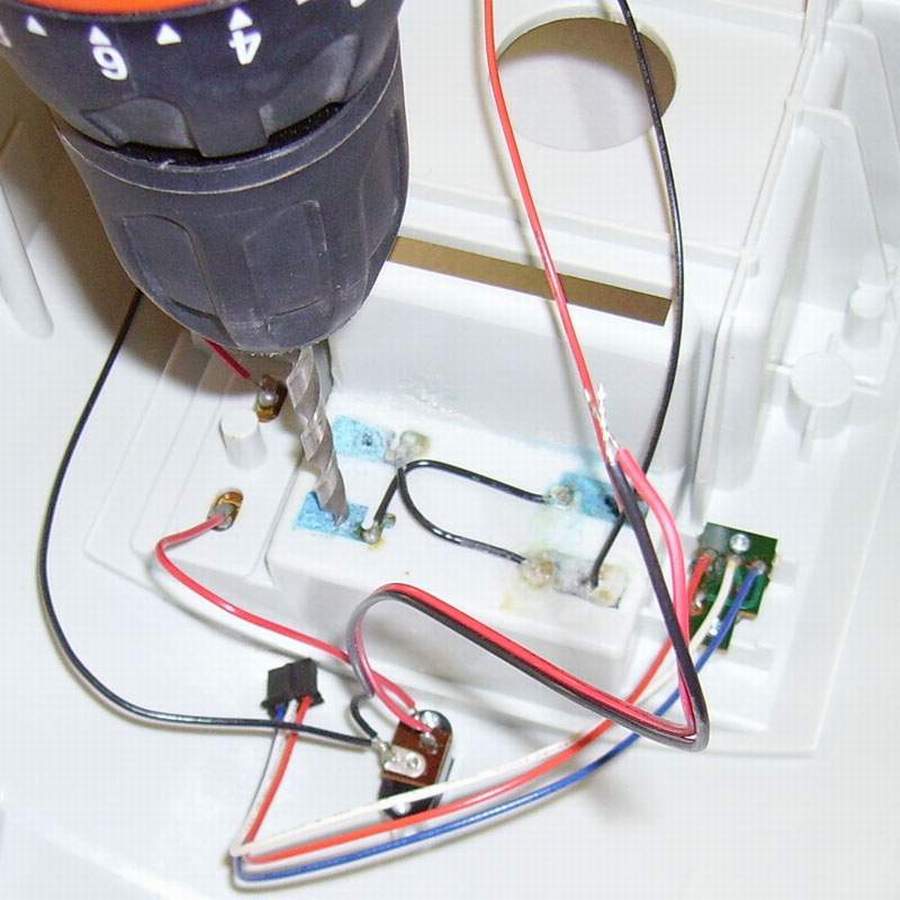
3. Place the housing flat on the table. Use a oversize drill bit and lightly drill the rim off the eye lit that hold the battery contacts in place.
4. DO NOT drill through the battery contacts or the plastic housing.
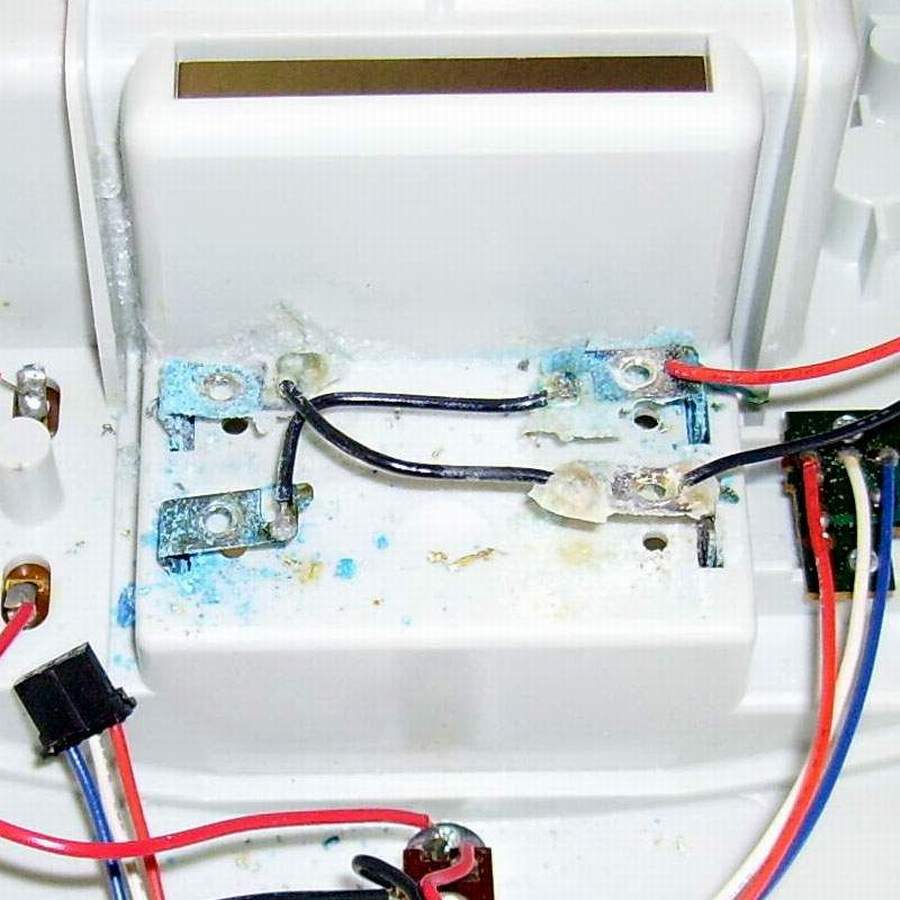
5. Once the eye lit ridge is removed take a punch smaller than the hole and gently tap all four of the eye lit out.
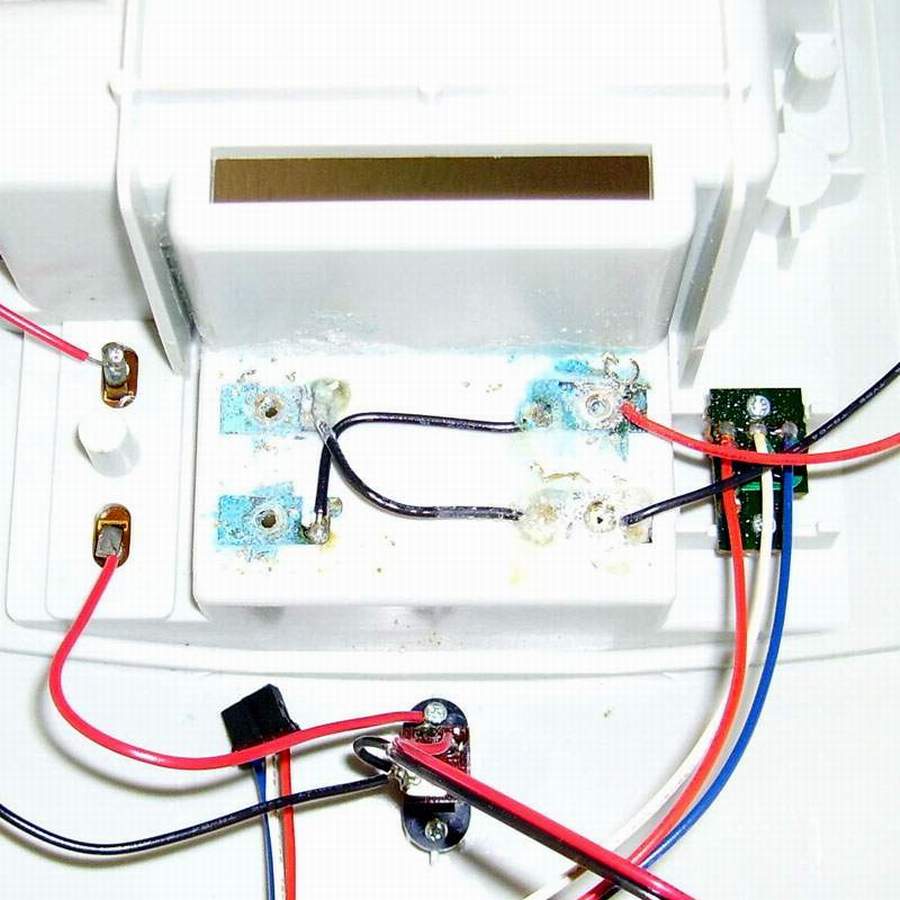
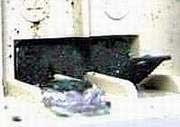
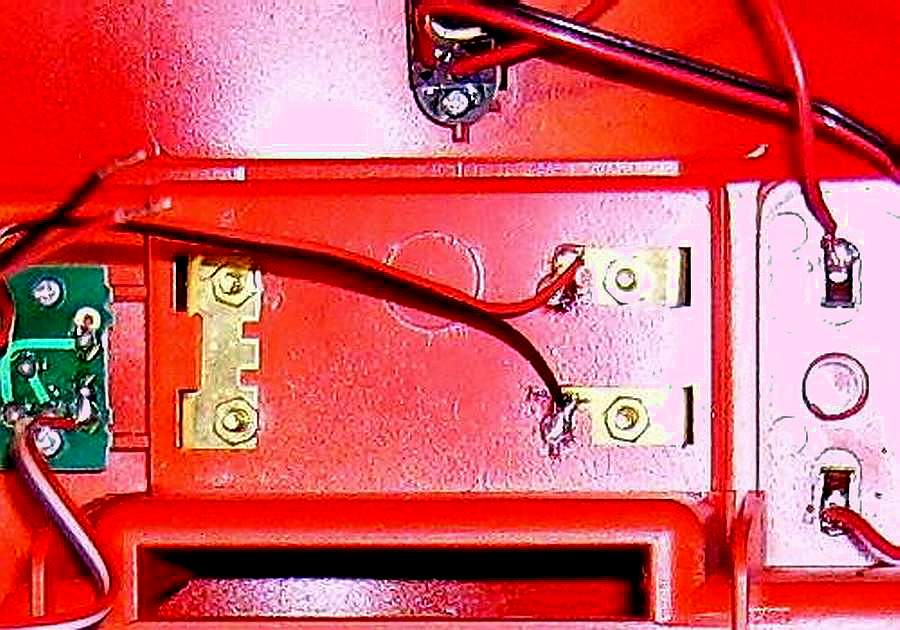
6. This picture shows the eye lit removed from the housing and battery contacts.
7. Gently pry the battery contacts out.
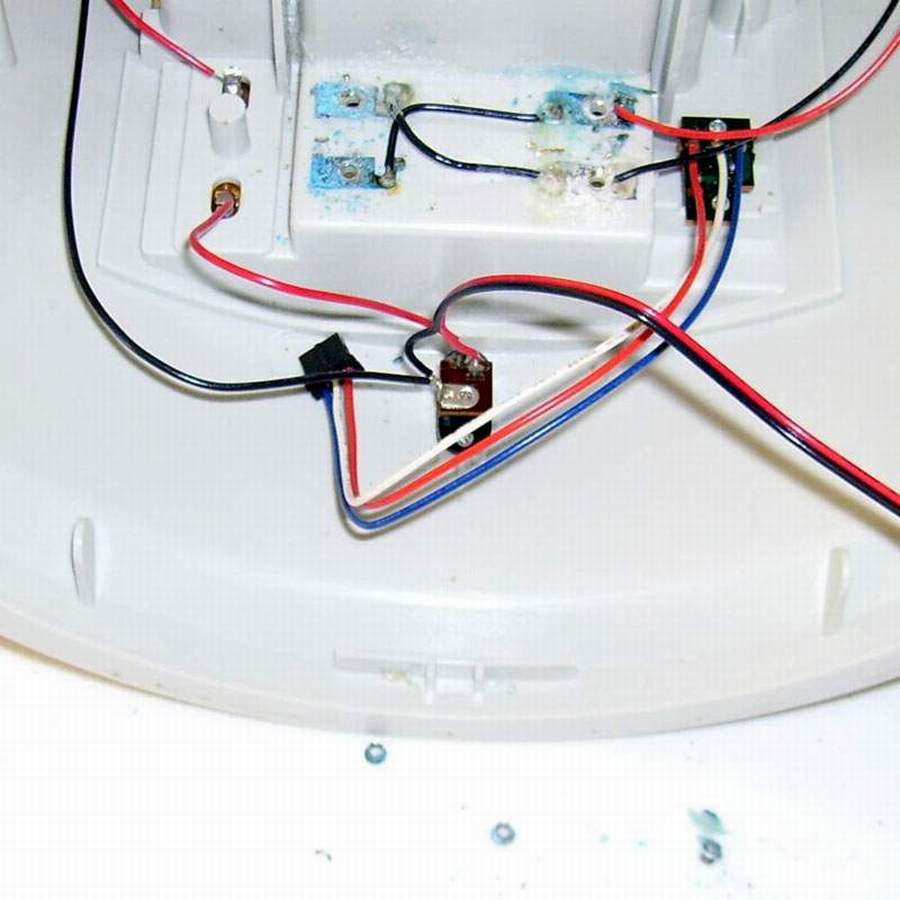
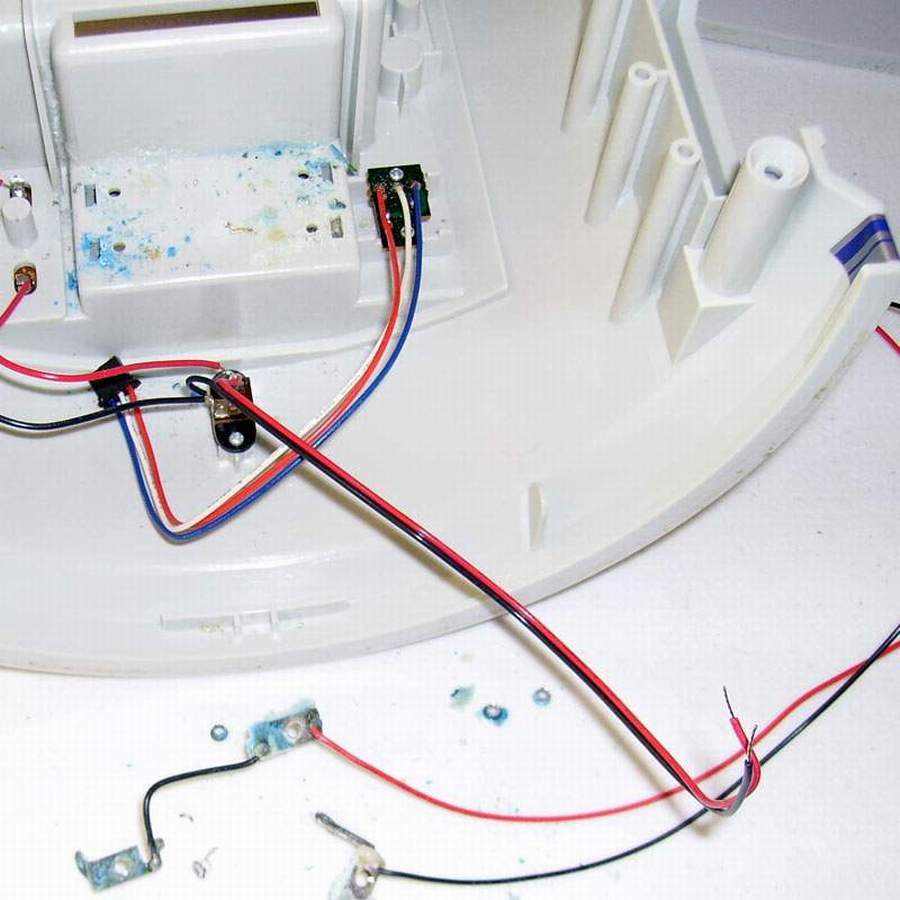
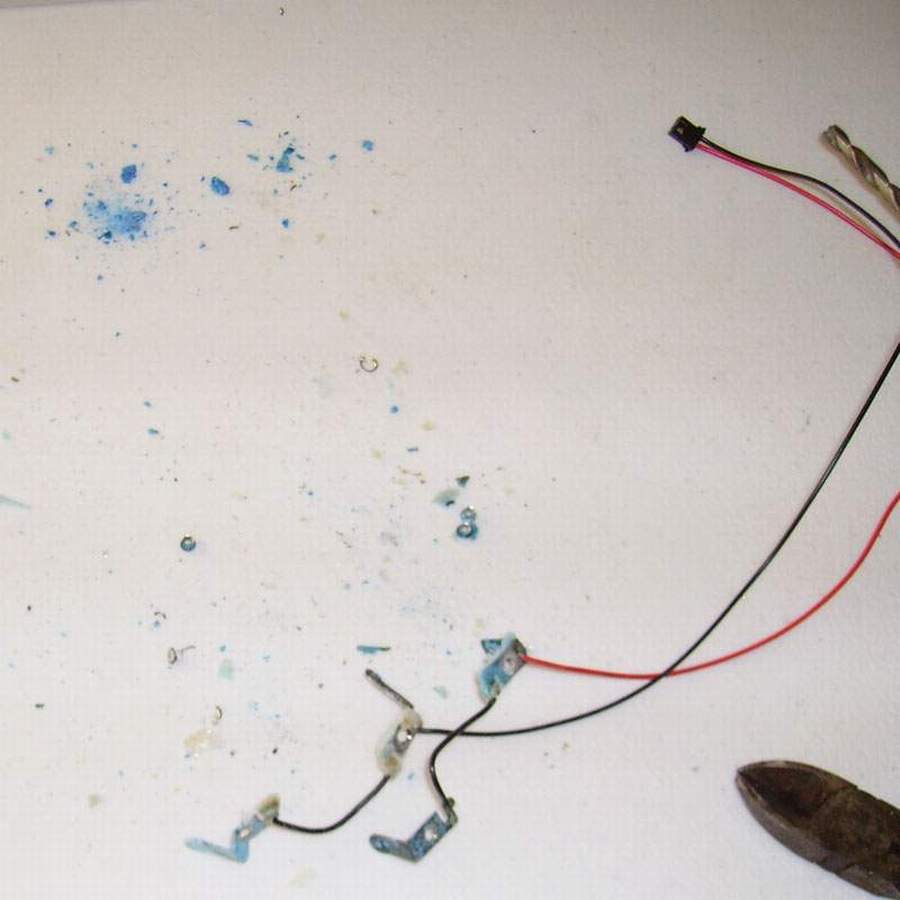
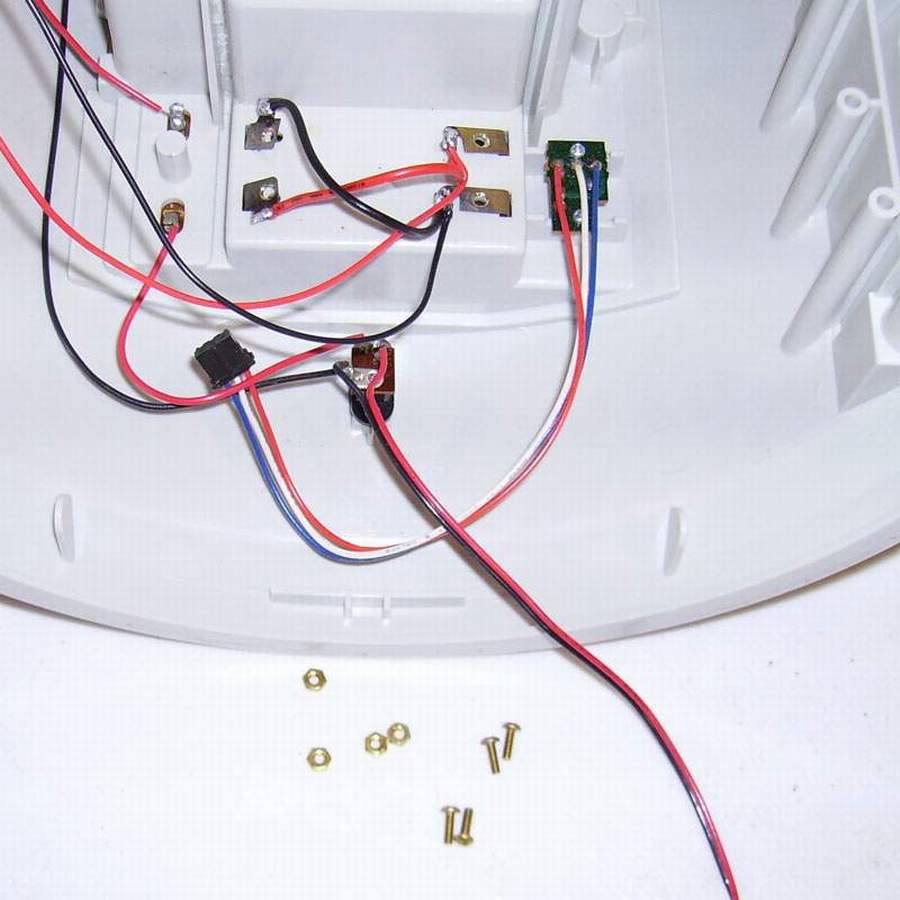
8. Remove the battery contacts and wires and plug.
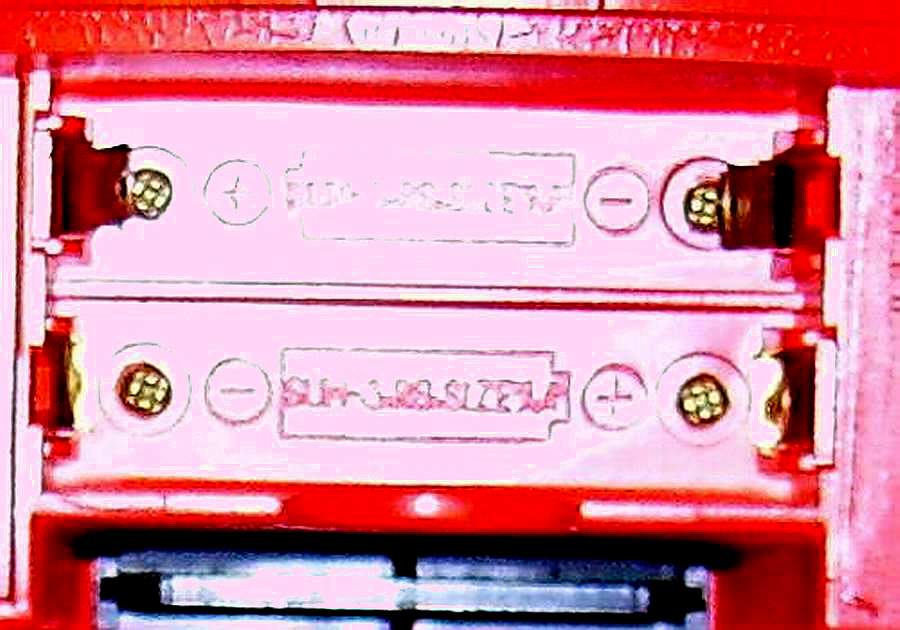
9. This is what the contacts with wire and plug will look like, Replace the battery contacts and solder the wires to the contacts.
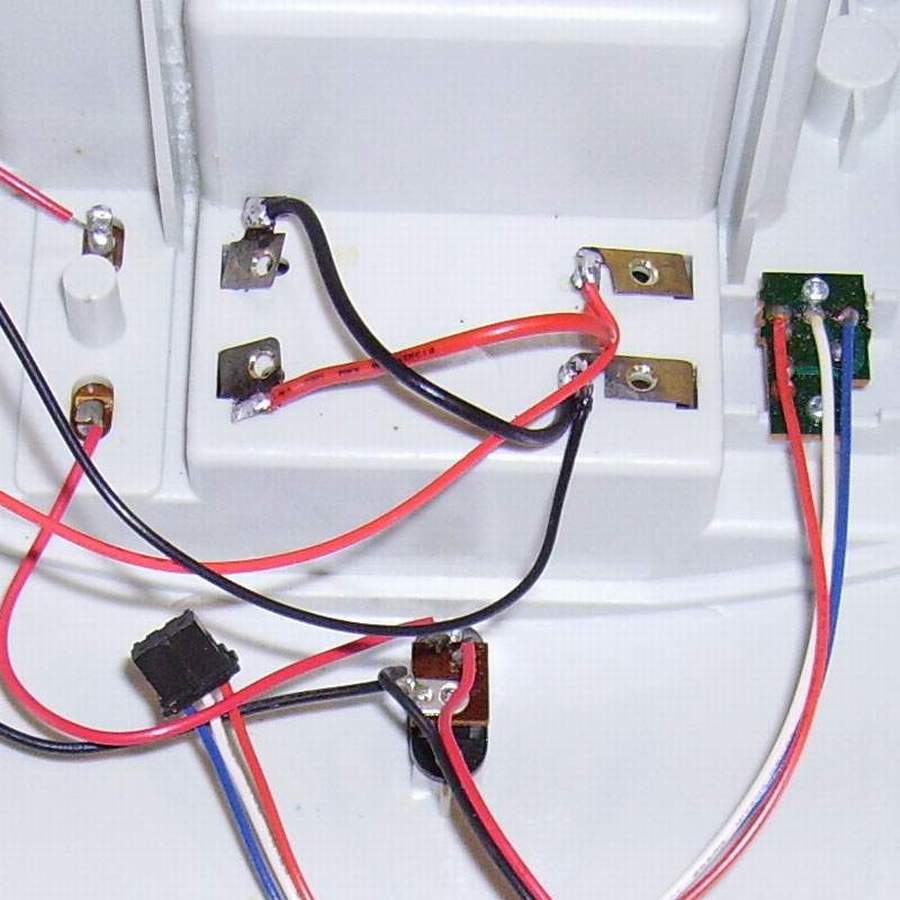
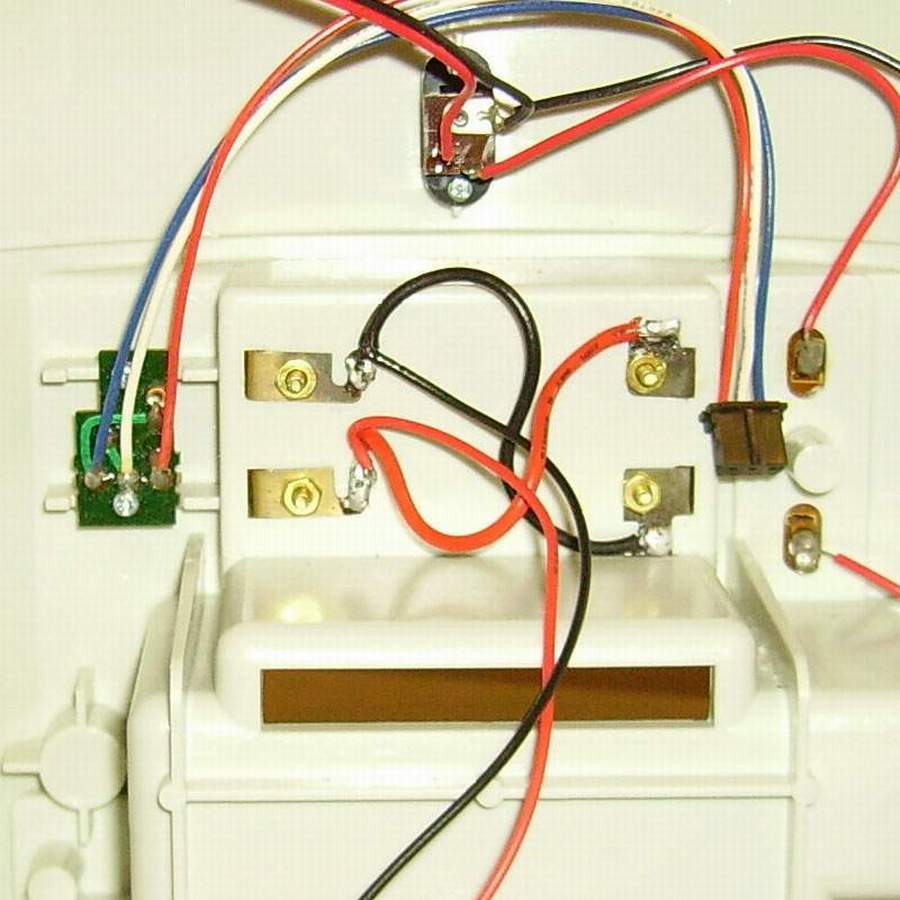
10. After cleaning the housing reinsert the new battery contacts and wires into the housing.
11. Use Brass 2/56 HEX MACH SC screws and nuts to fasten the battery contacts.
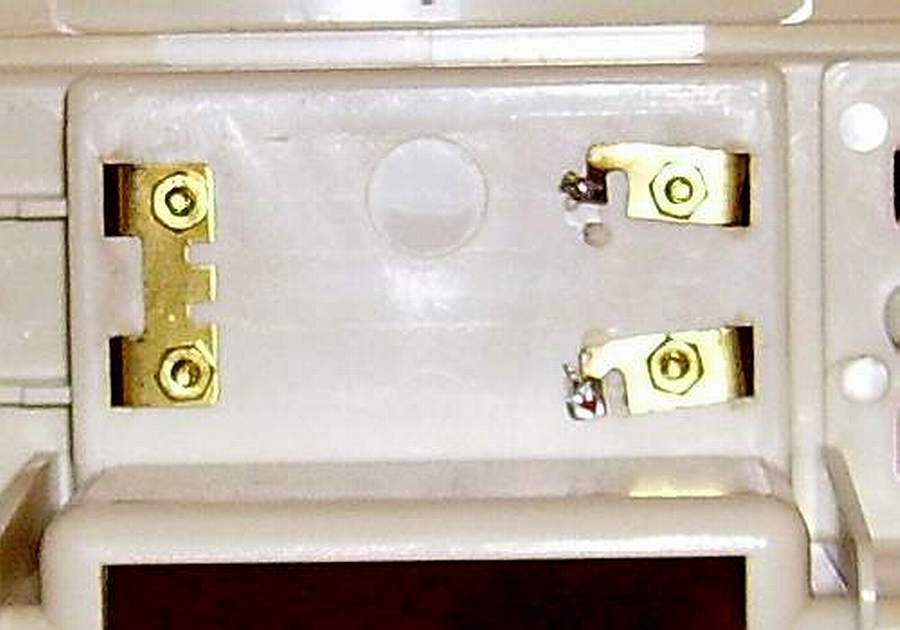
12. This is what the finished product will look like.
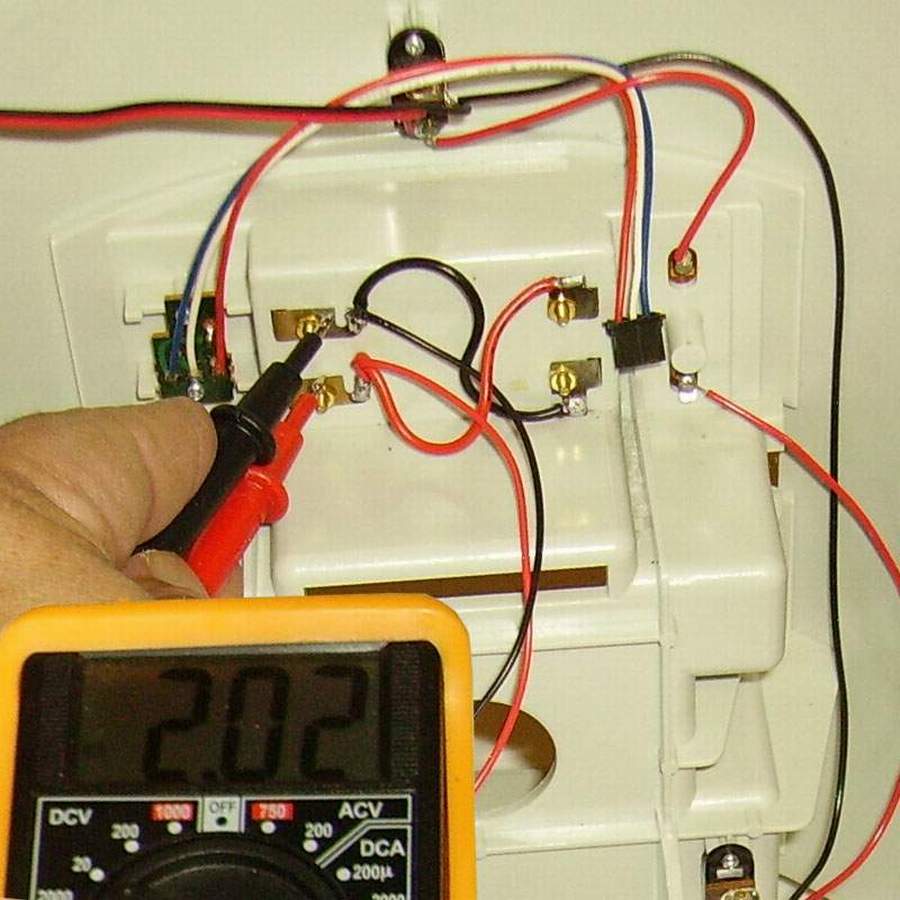
13. Use a multi-meter to check conductivity both at the rear and the plug. Temporary install batteries into the robot housing to check the installation.
14. This is what the finished product will look like.
The Omnibot Family Battery Contacts
The Omnibot ® , Omnibot 2000 ® , Omnibot MK II ® , Hearoid ® and the Robie Sr. ® all have the same contacts, and can be replaced in the same manner. All of the clocks do not use two batteries and are not wired alike. Care should be taken to document the robot before using the replacement parts. The Robie Sr. ® uses only one battery.
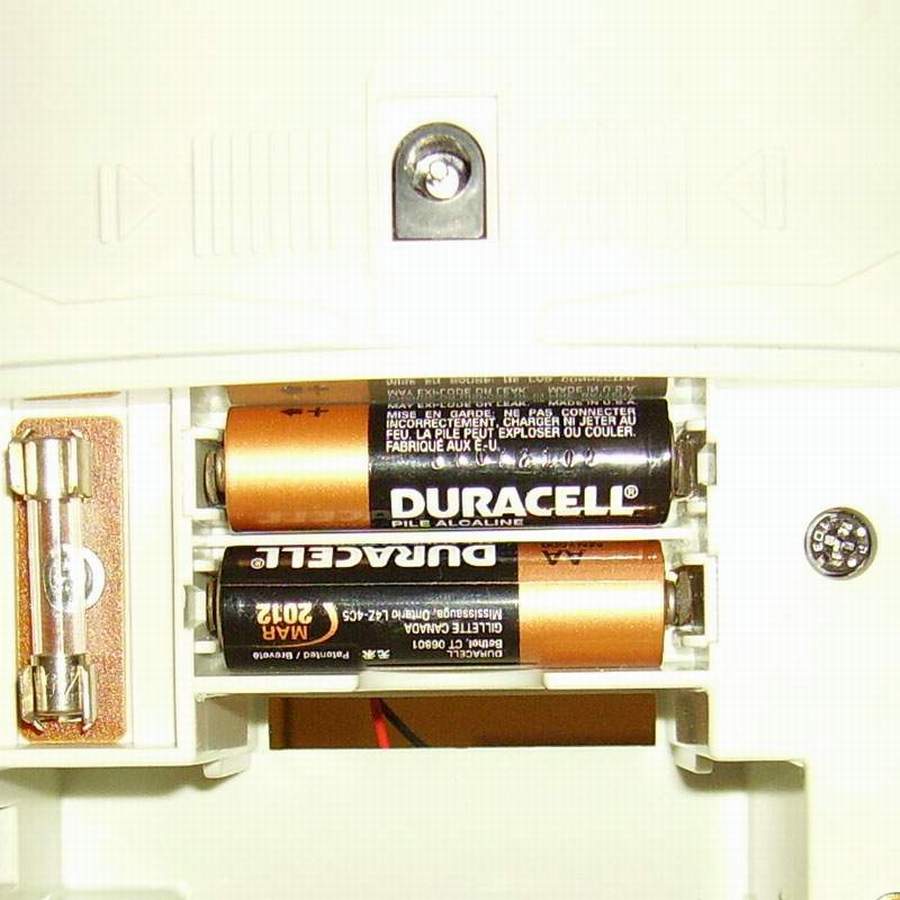
15. Install batteries into the robot housing. The operation is finished.
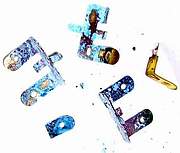
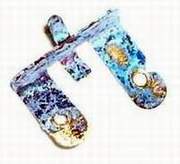
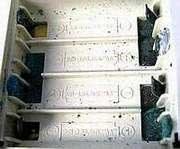
BEFORE
Shown above are some examples of contacts that are in the robots and controllers. This is one reason that they do not power up.
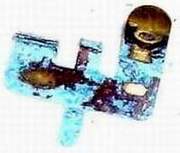
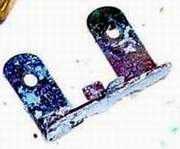
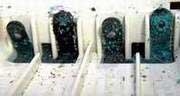
AFTER
Shown above are some examples of contacts that have been replaced in the robots.There is no warrenty expressed or implied with this procedure. By using any information from this web site, you agree not to hold responsible this site, me, nor any of its representatives, for any injuries and/or damages, both physical and/or psychological, that may arise from the use and/or misuse of anything derived from this site. The user further agrees that such information/pictures does not constitute any guarantee of accuracy, safety or reliability, and that cannot be held responsible for any way. The user agrees to proceed at their own risk.