| This process Addresses the Mechanical Disassembly of the Robot and does not address the Electronics. Accompany this Procedure is additional pictures that you can expand to see more details as needed. This Robot has IC's and Transistors and are of the earlier designs. Static discharge can damage the electronics. It is recommended that you have and use a Static grounding wrist strap. |
The Omnibot 2000 Robot With And Without Tray

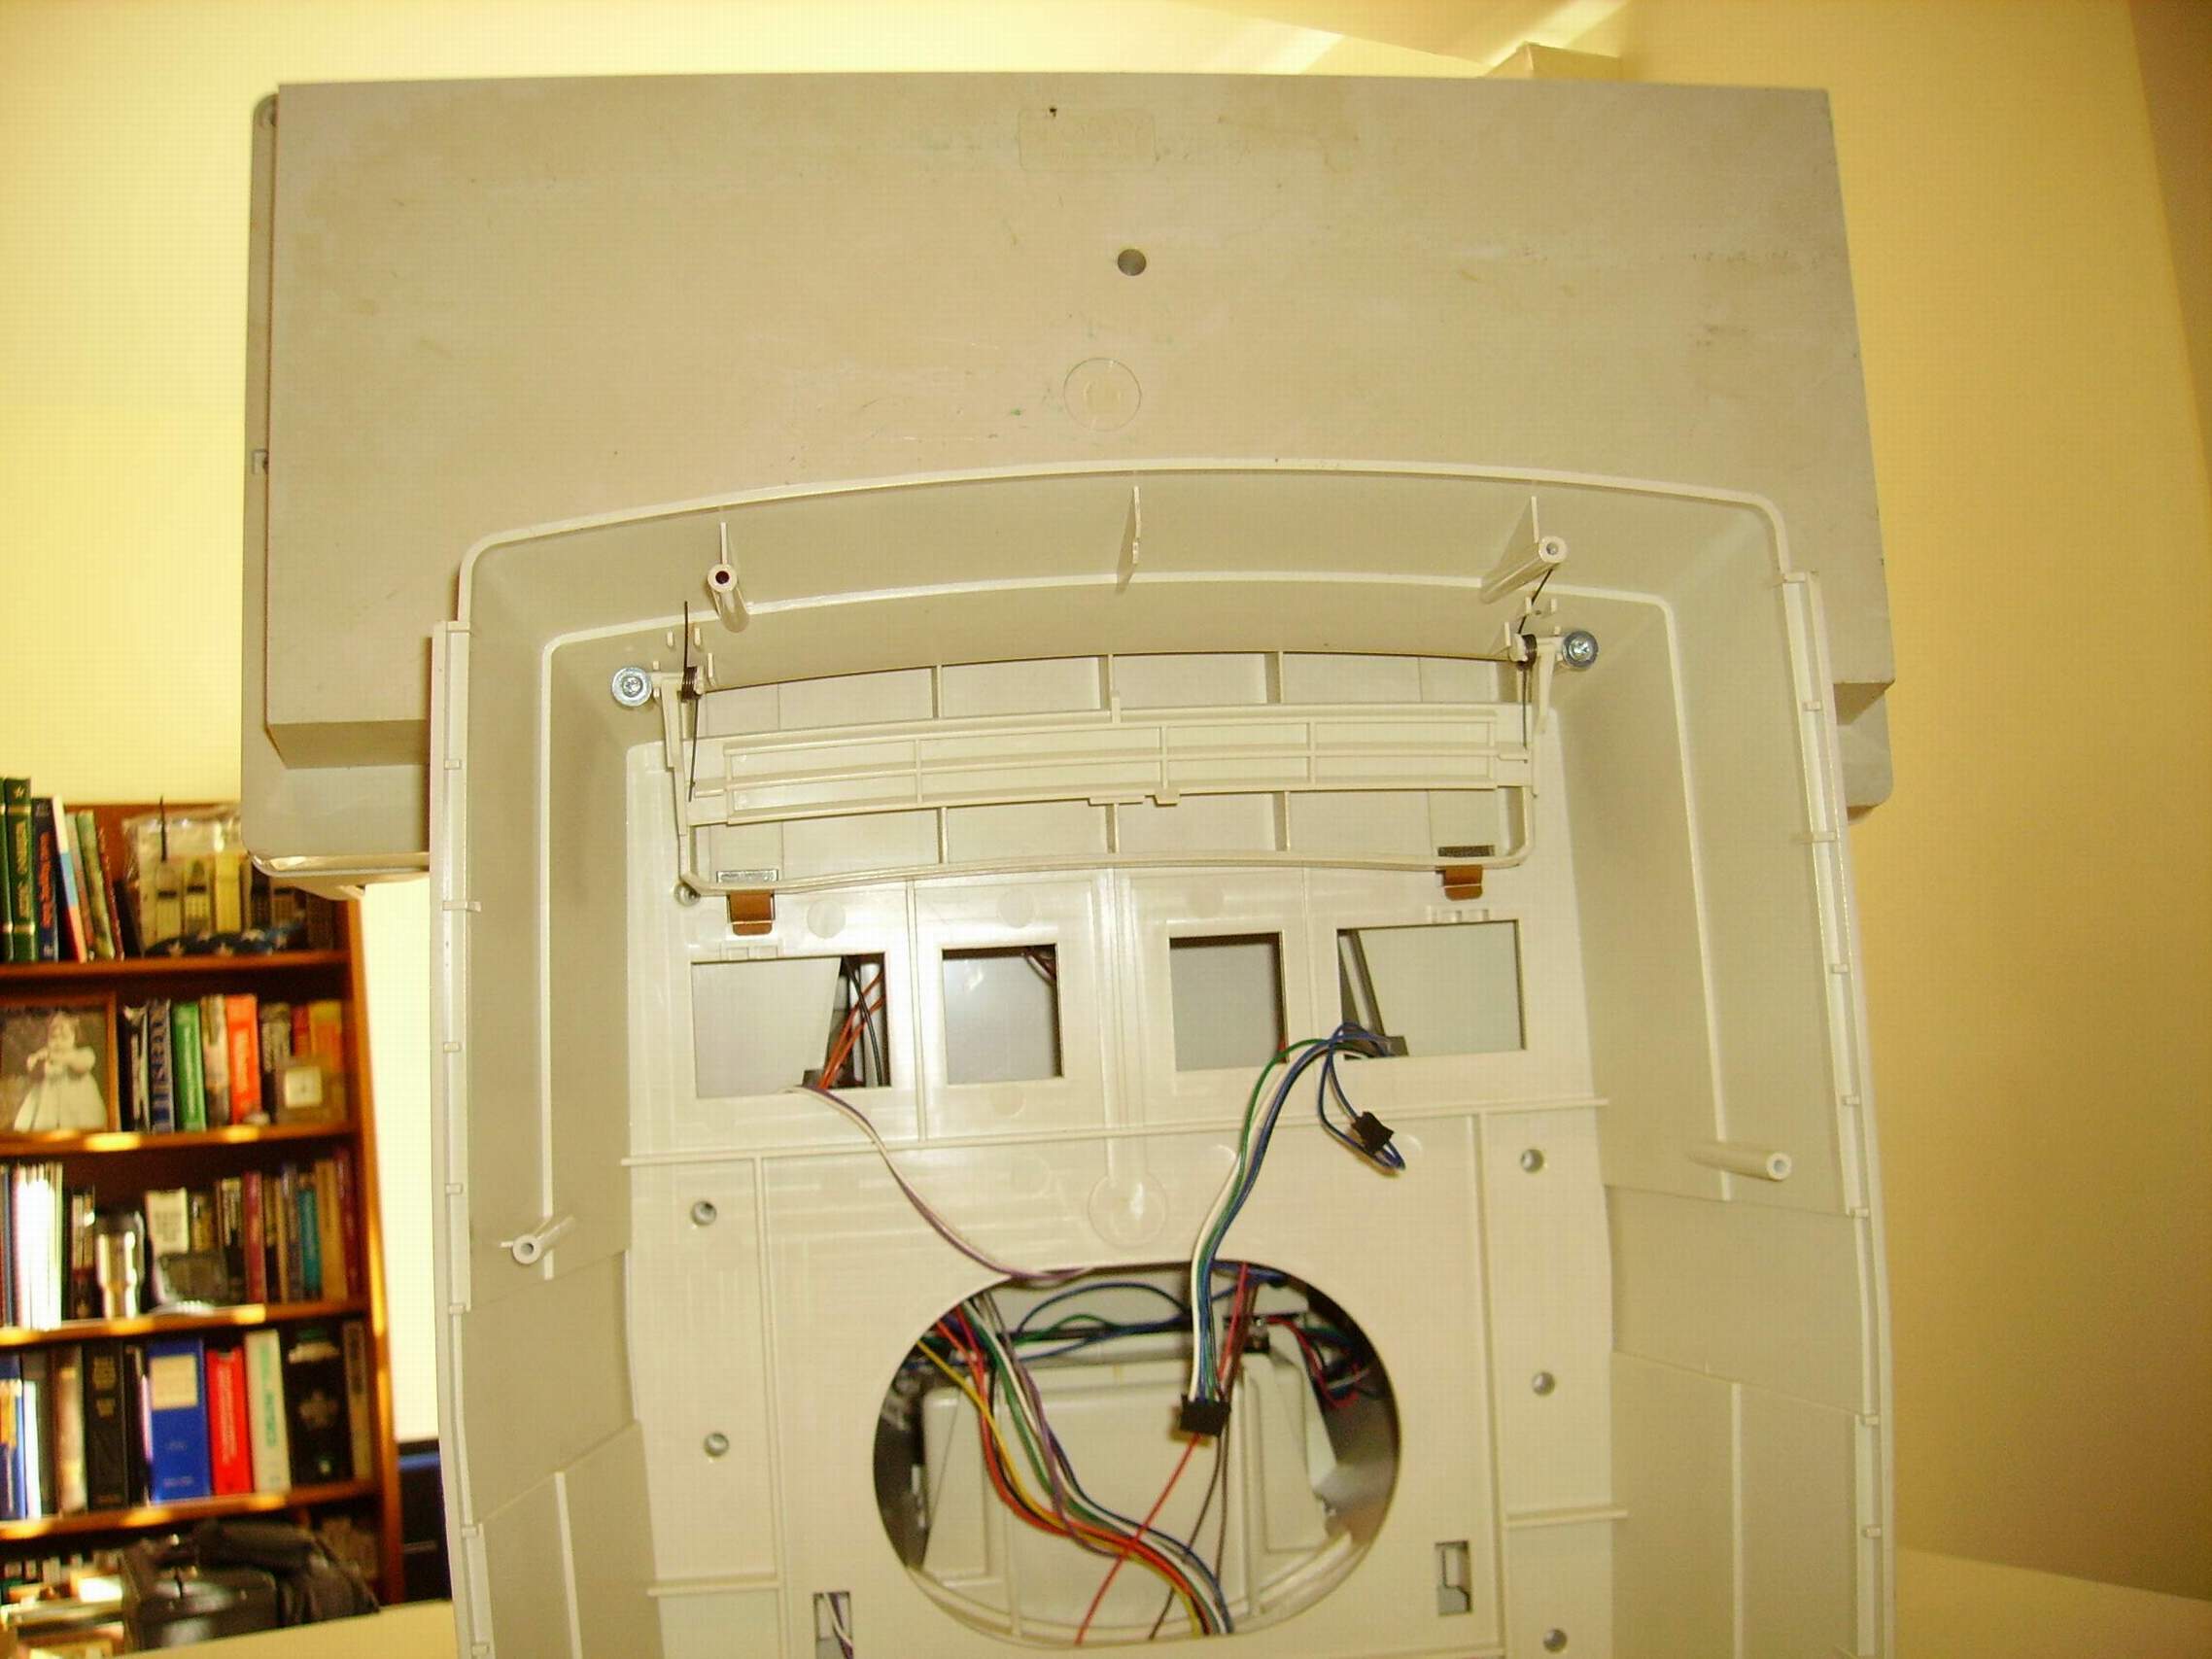
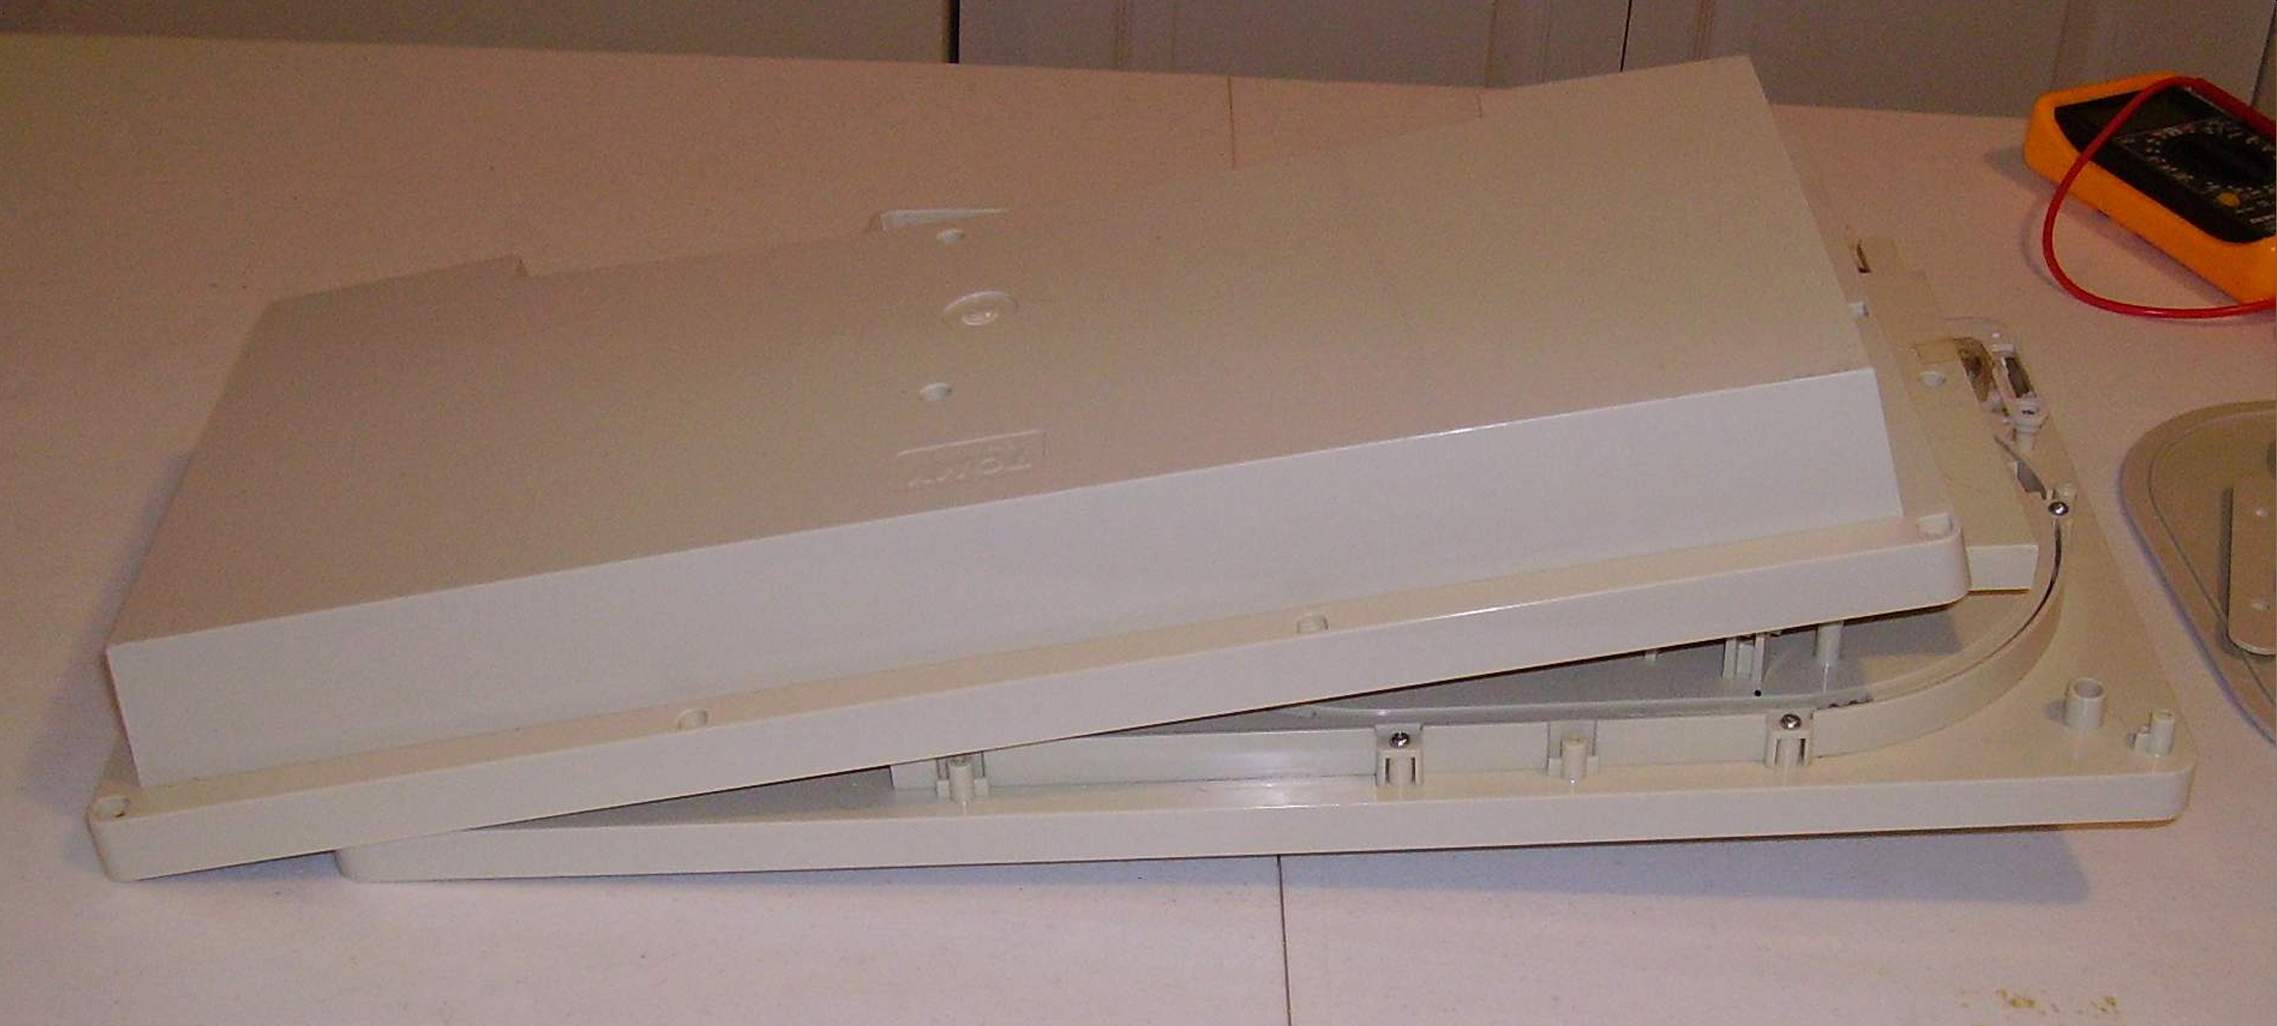
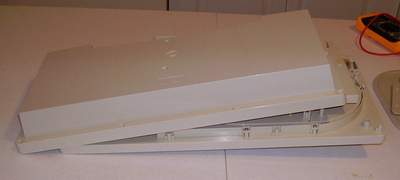
Robot Base Extension / With TreyFYI - Shown is the robot with the trey attached to show
you what the trey looks like inserted into the robot. |
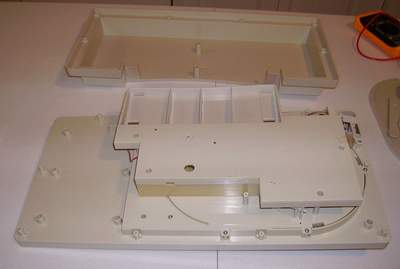
Robot Base Extension / Without TreyFYI - Shown is the robot without the trey to show
you the robot looks like with and without the trey. |
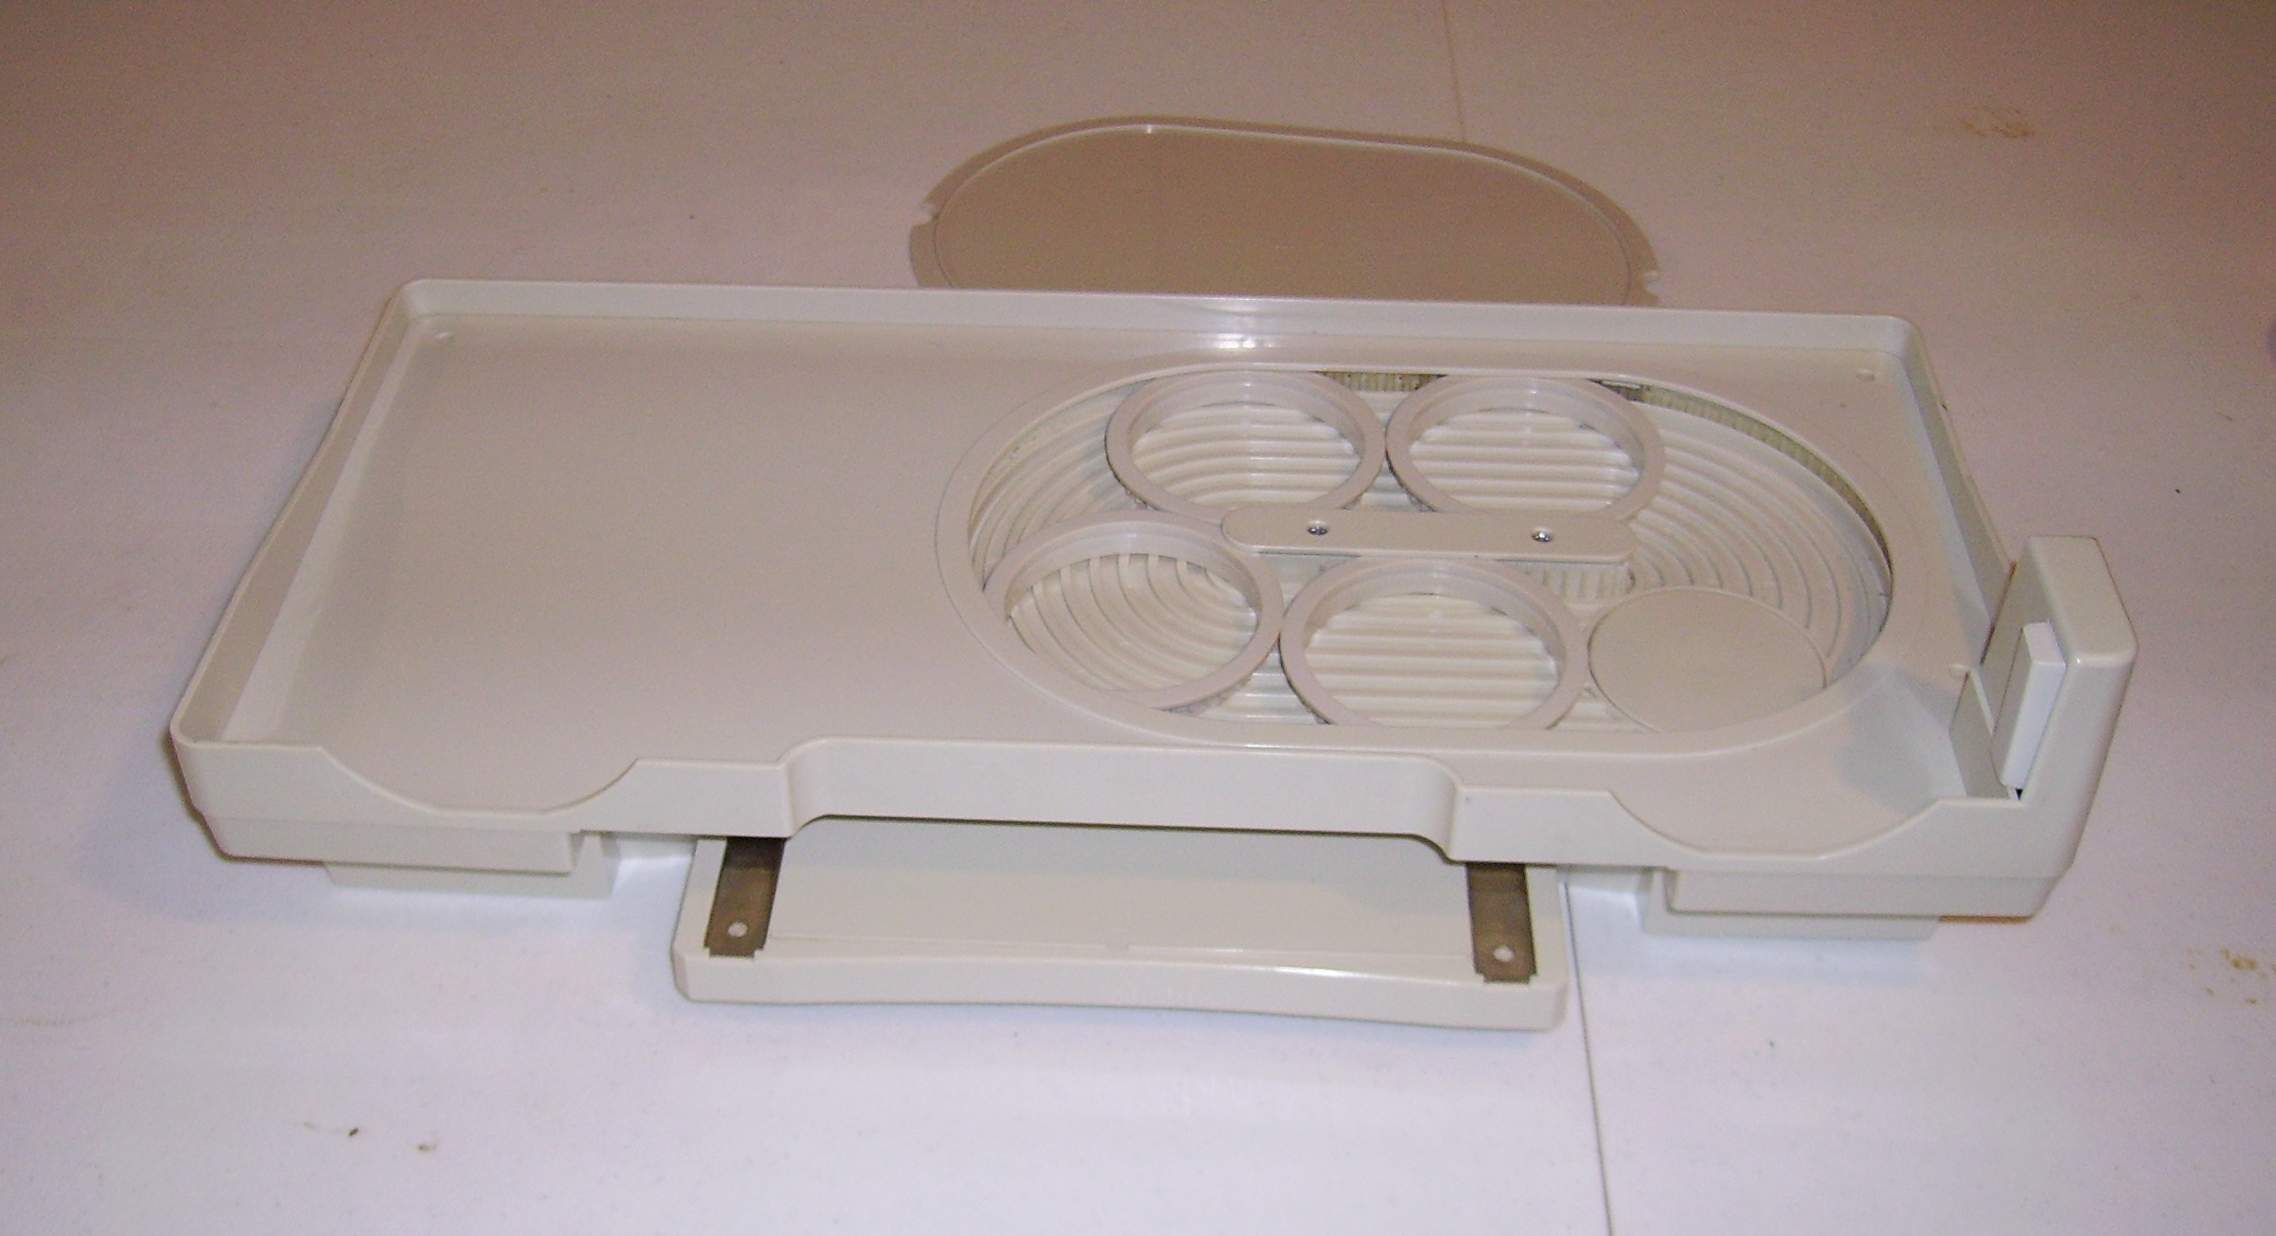
Disassembly the Omnibot 2000 Tray
Testing the Omnibot 2000 Tray
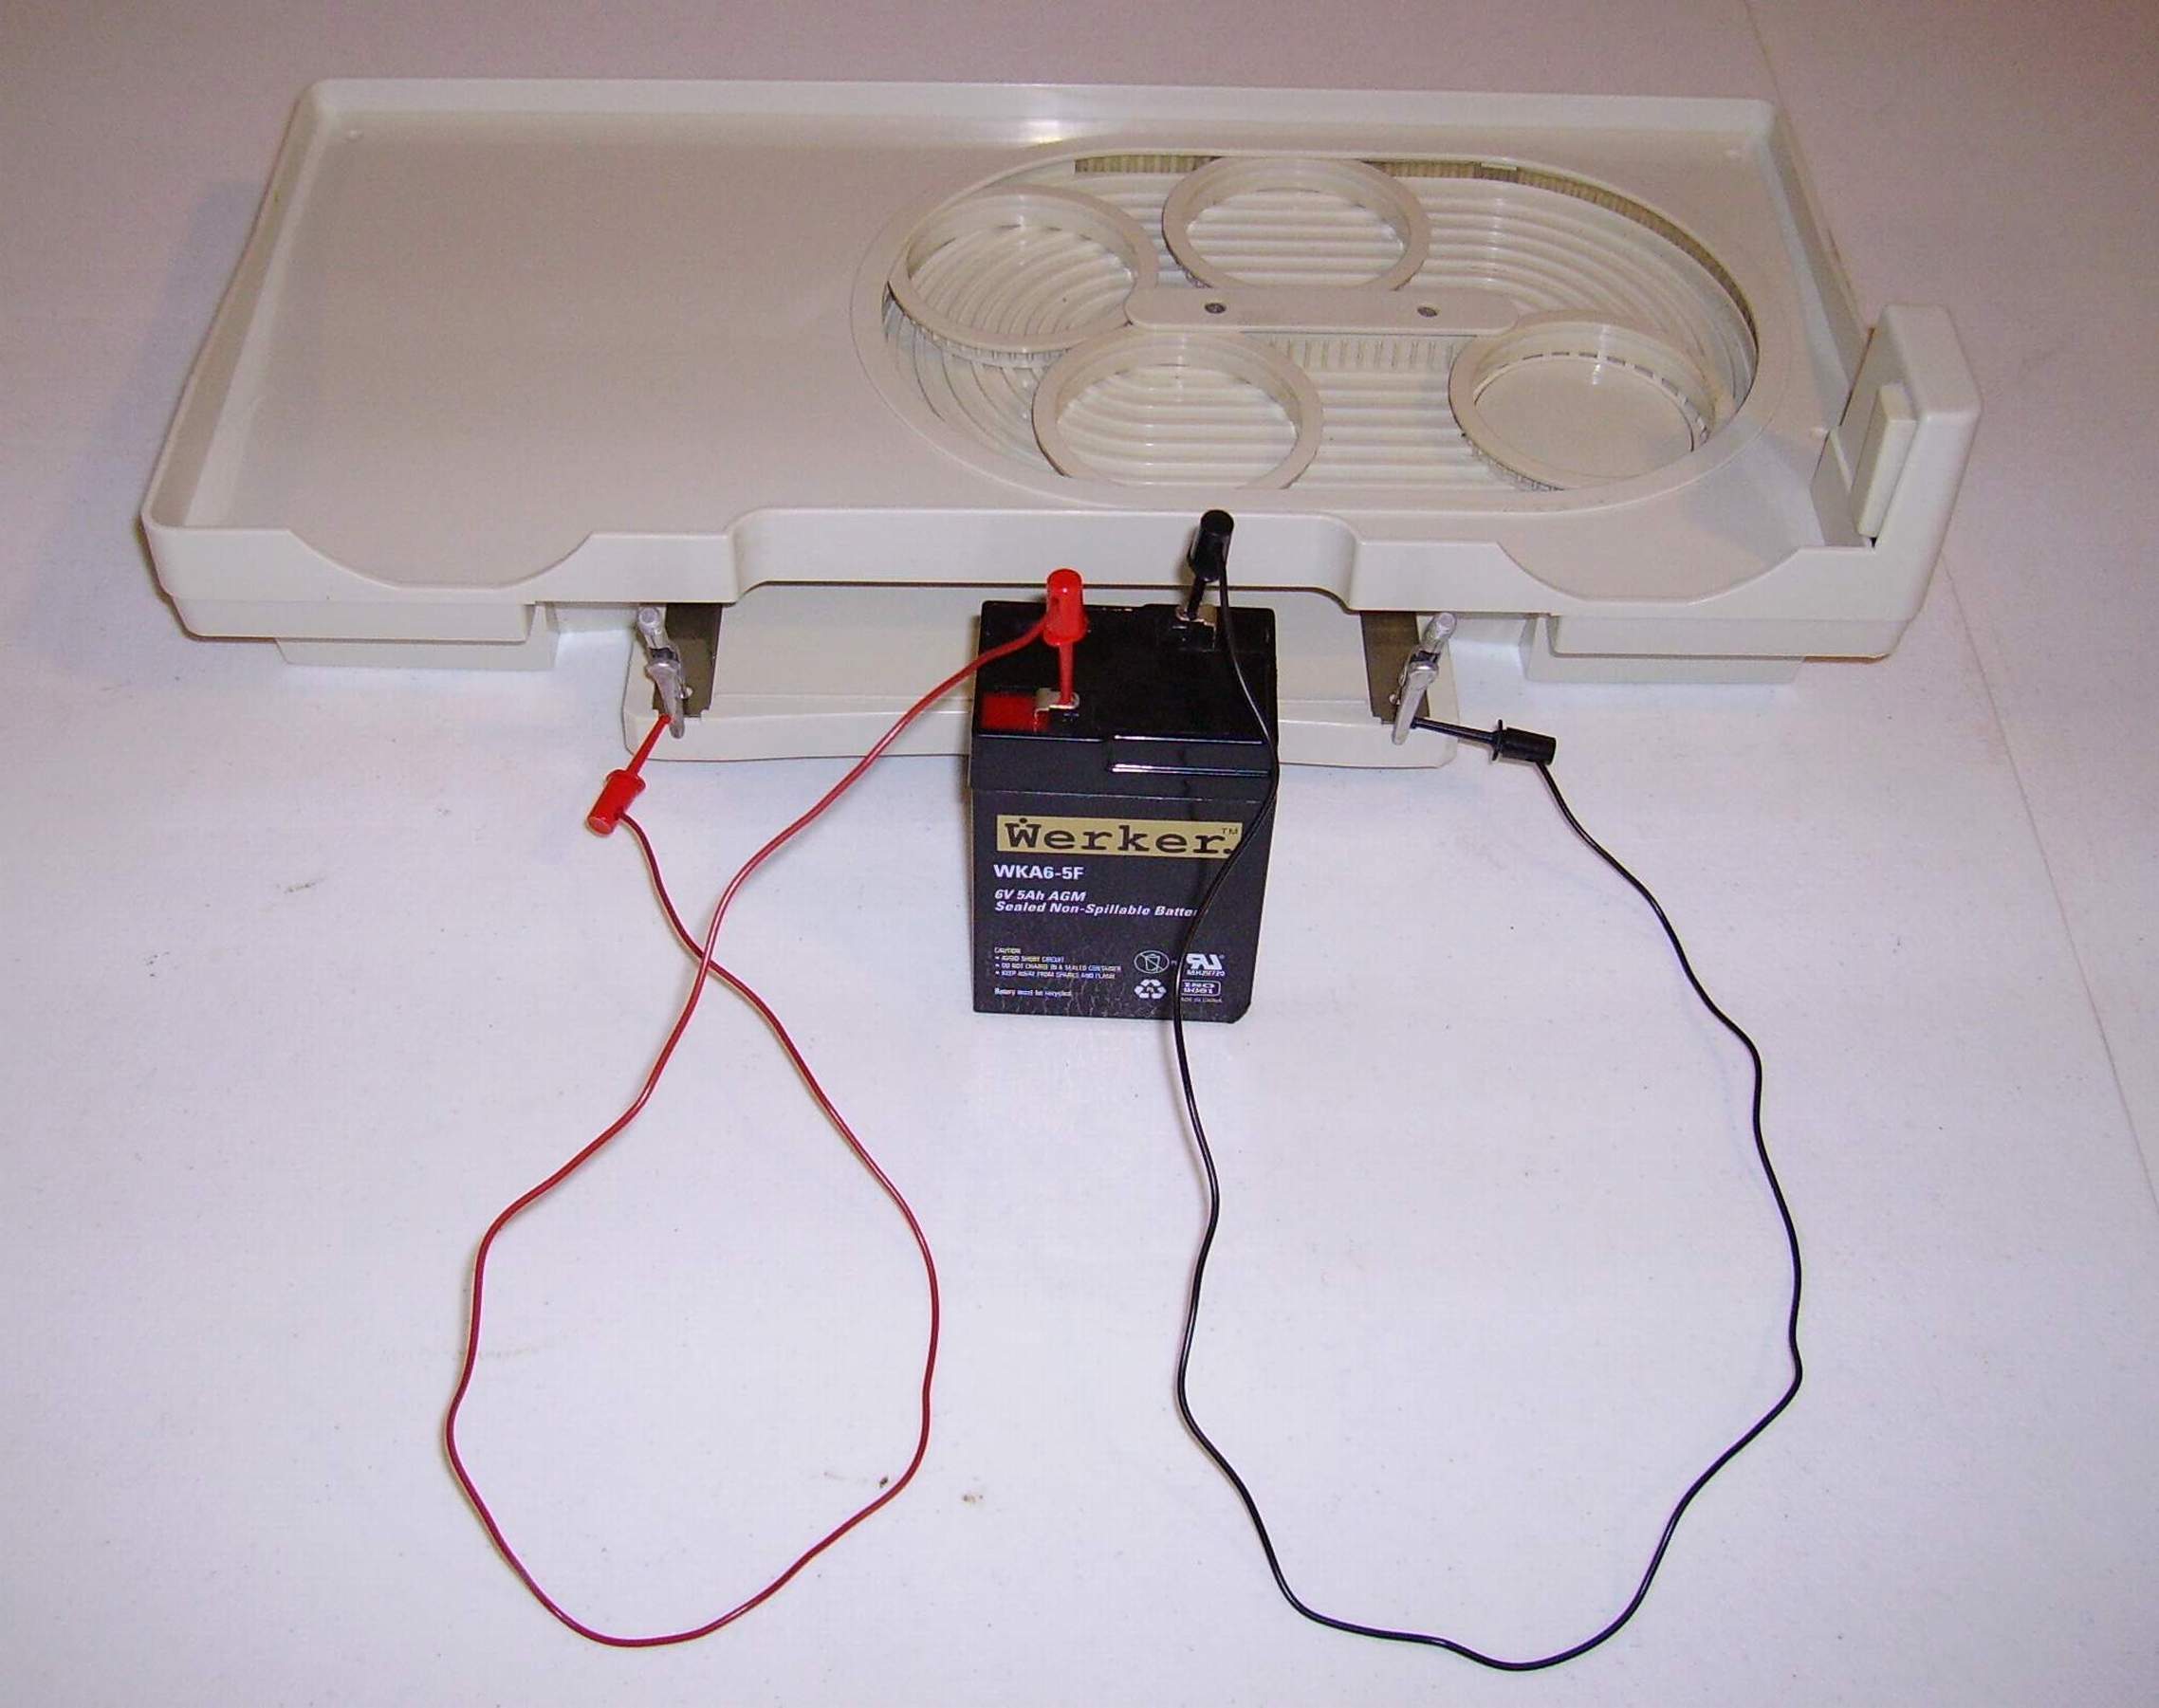 |
1. Hook up a 6V 4.0 AH battery to the tray. The negative side go to the terminal closest to the switch and the positive goes furthest from the switch. 2 Press the switch and hold it down for a few moments.The internal area that hold the glass on the tray should start moving and go through a complete cycle. 3. If the tray does not go through a complete cycle it is broken. |
|
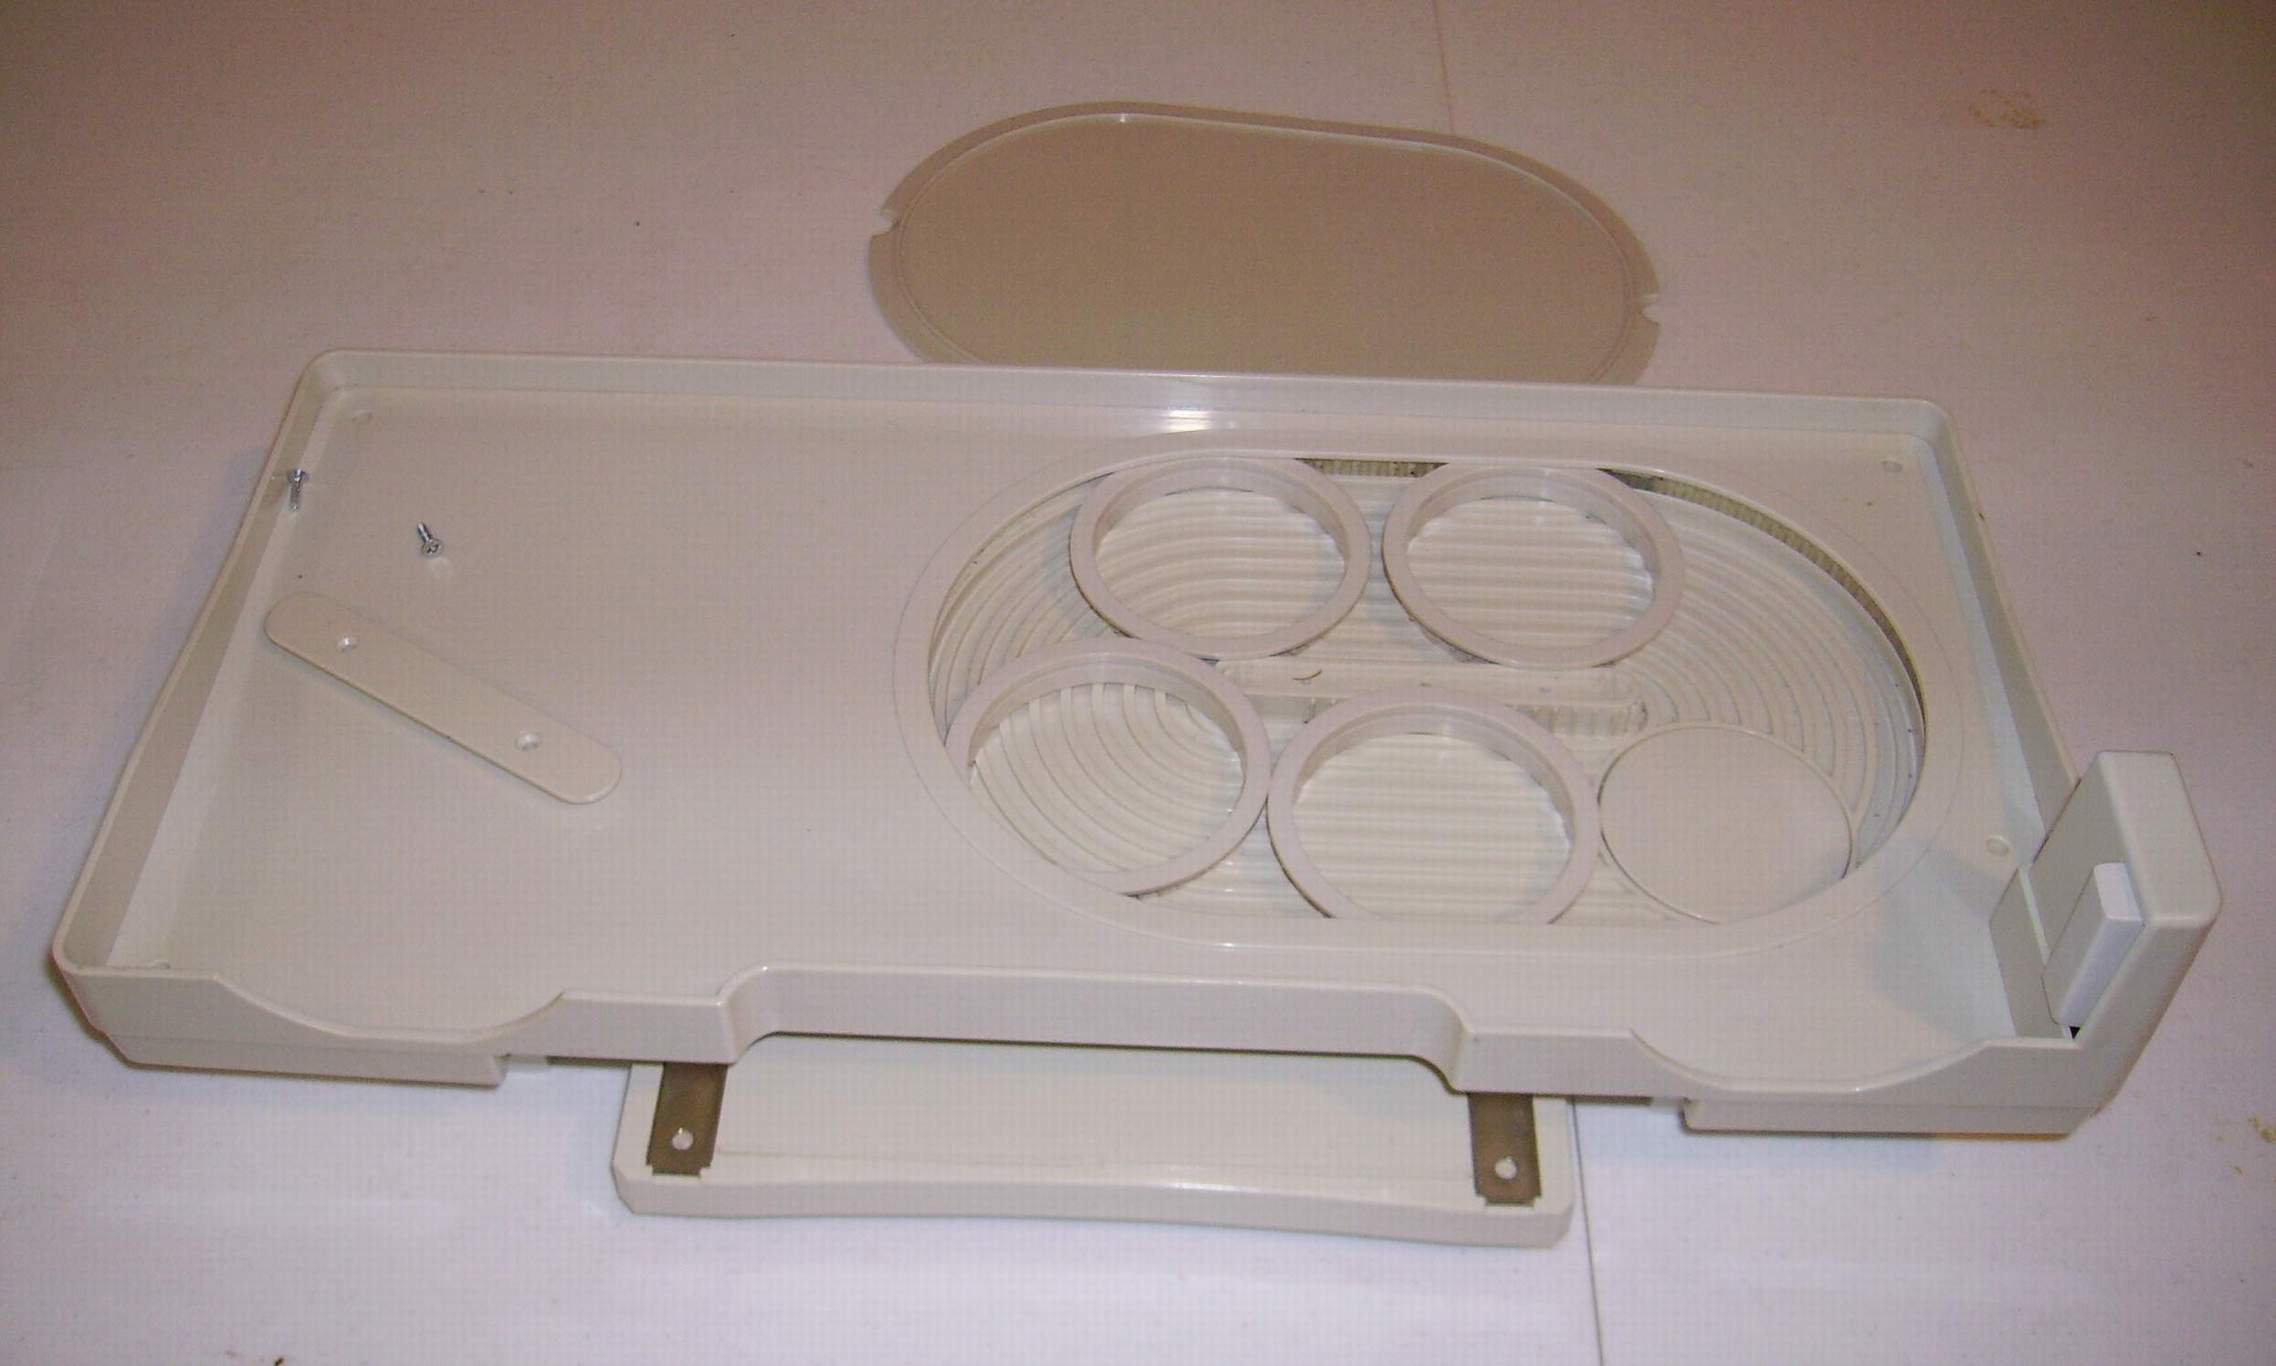
| Cleaning the Omnibot 2000 Tray
|
Continuing Disassembly the Omnibot 2000 Tray
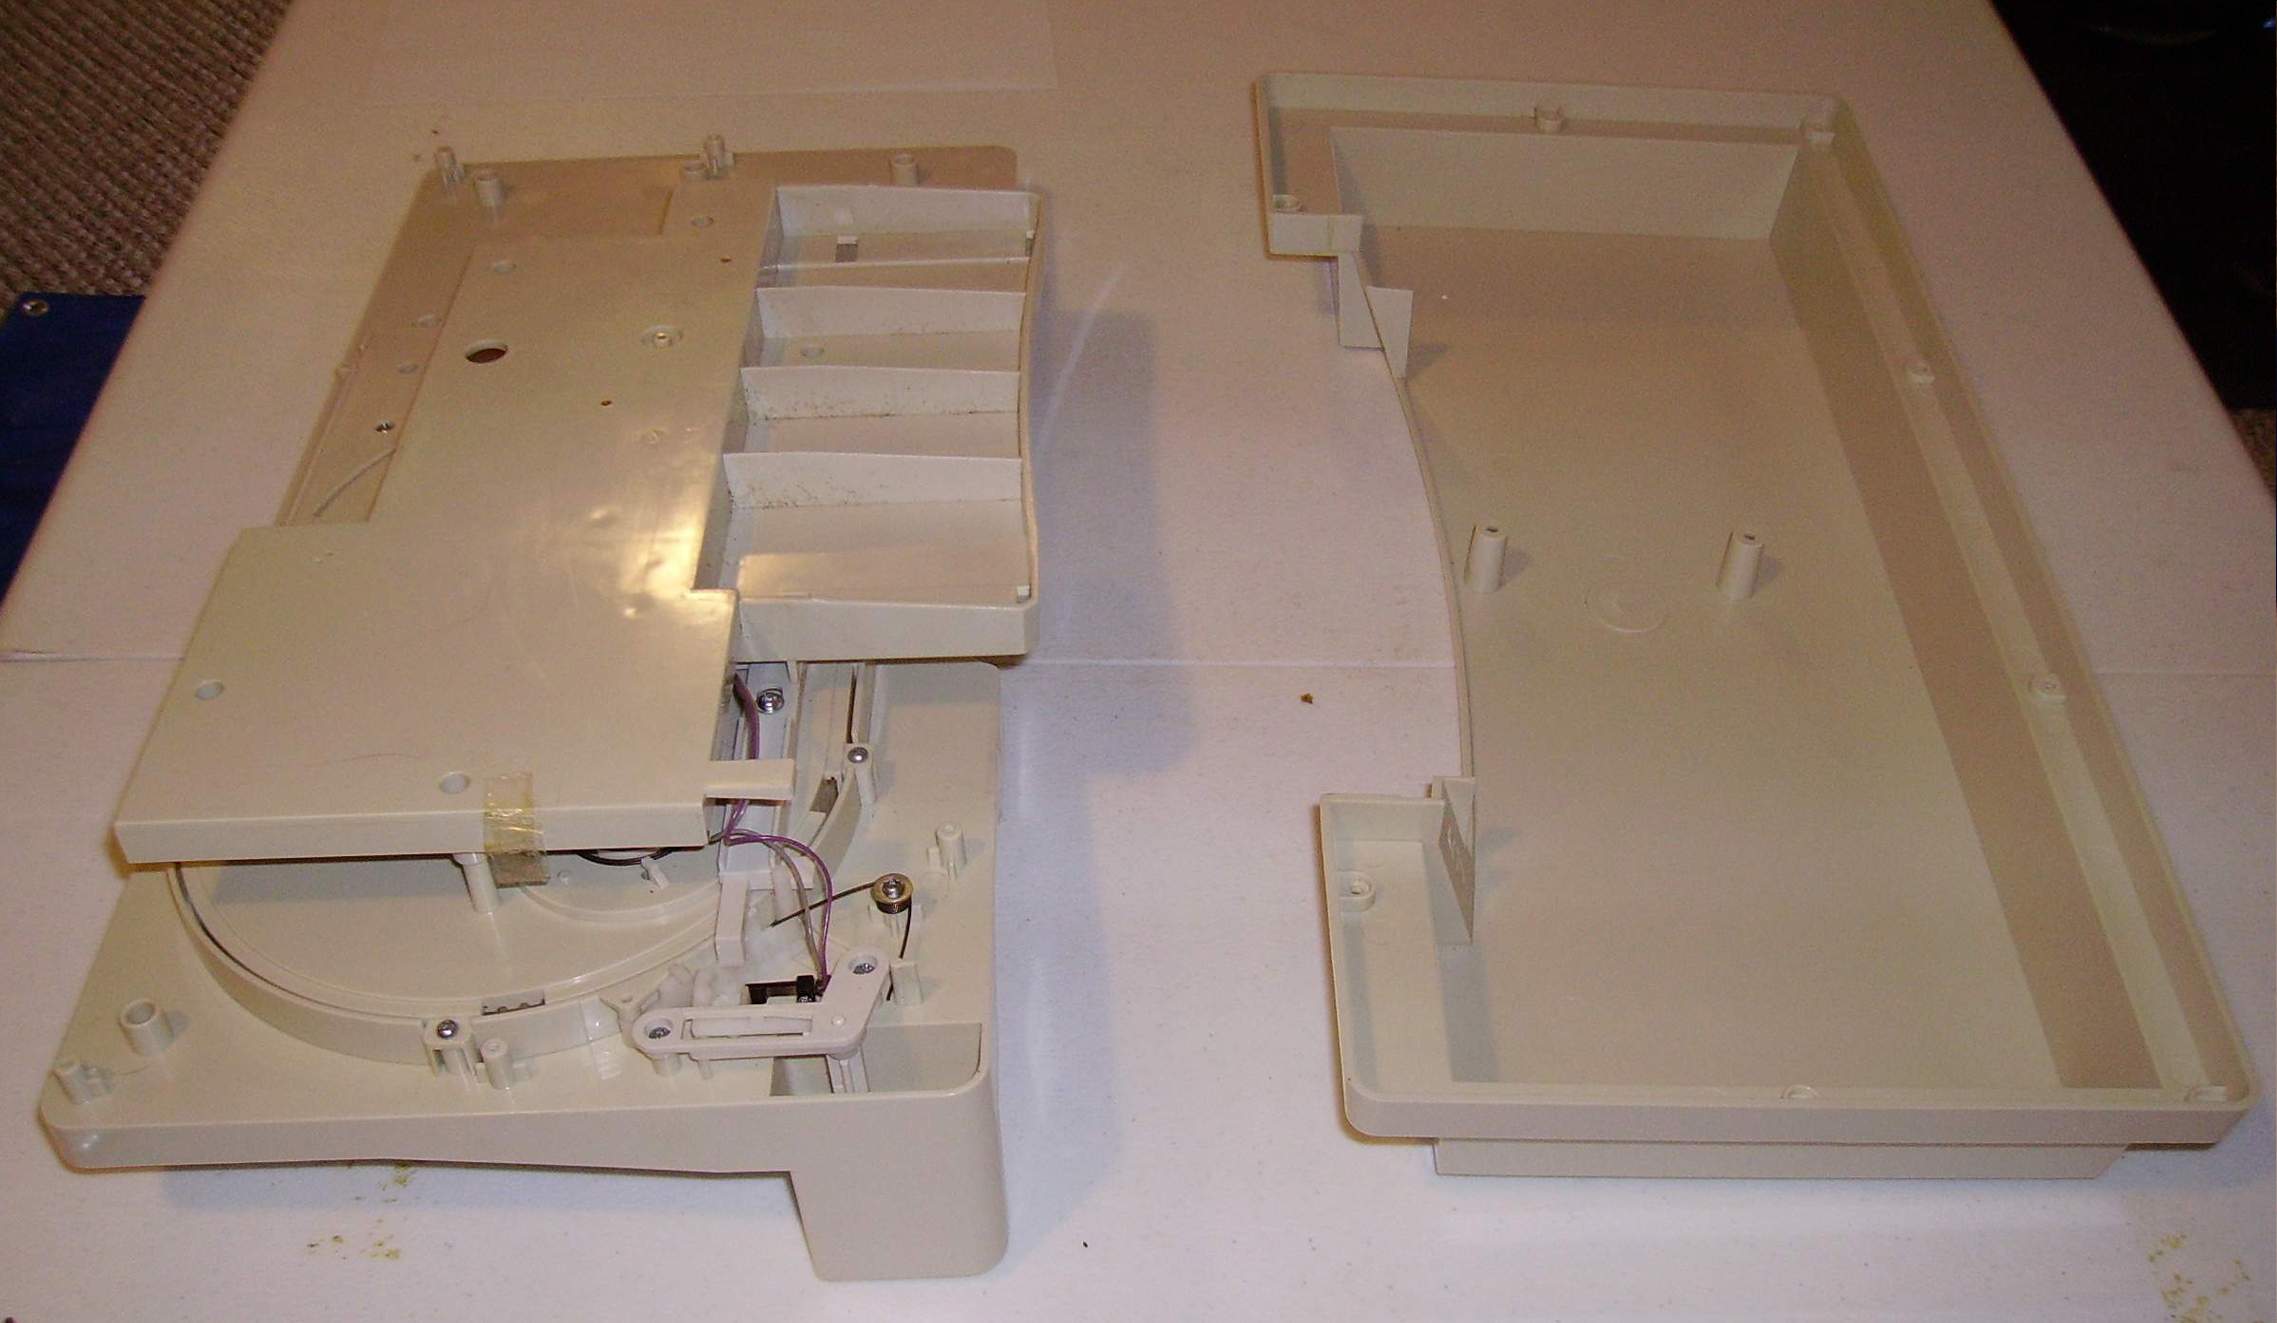
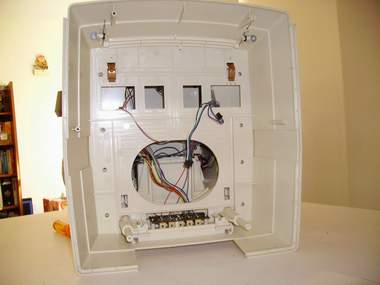
8. Turn the tray over and unscrew 10 screws and lift off the back. |
|

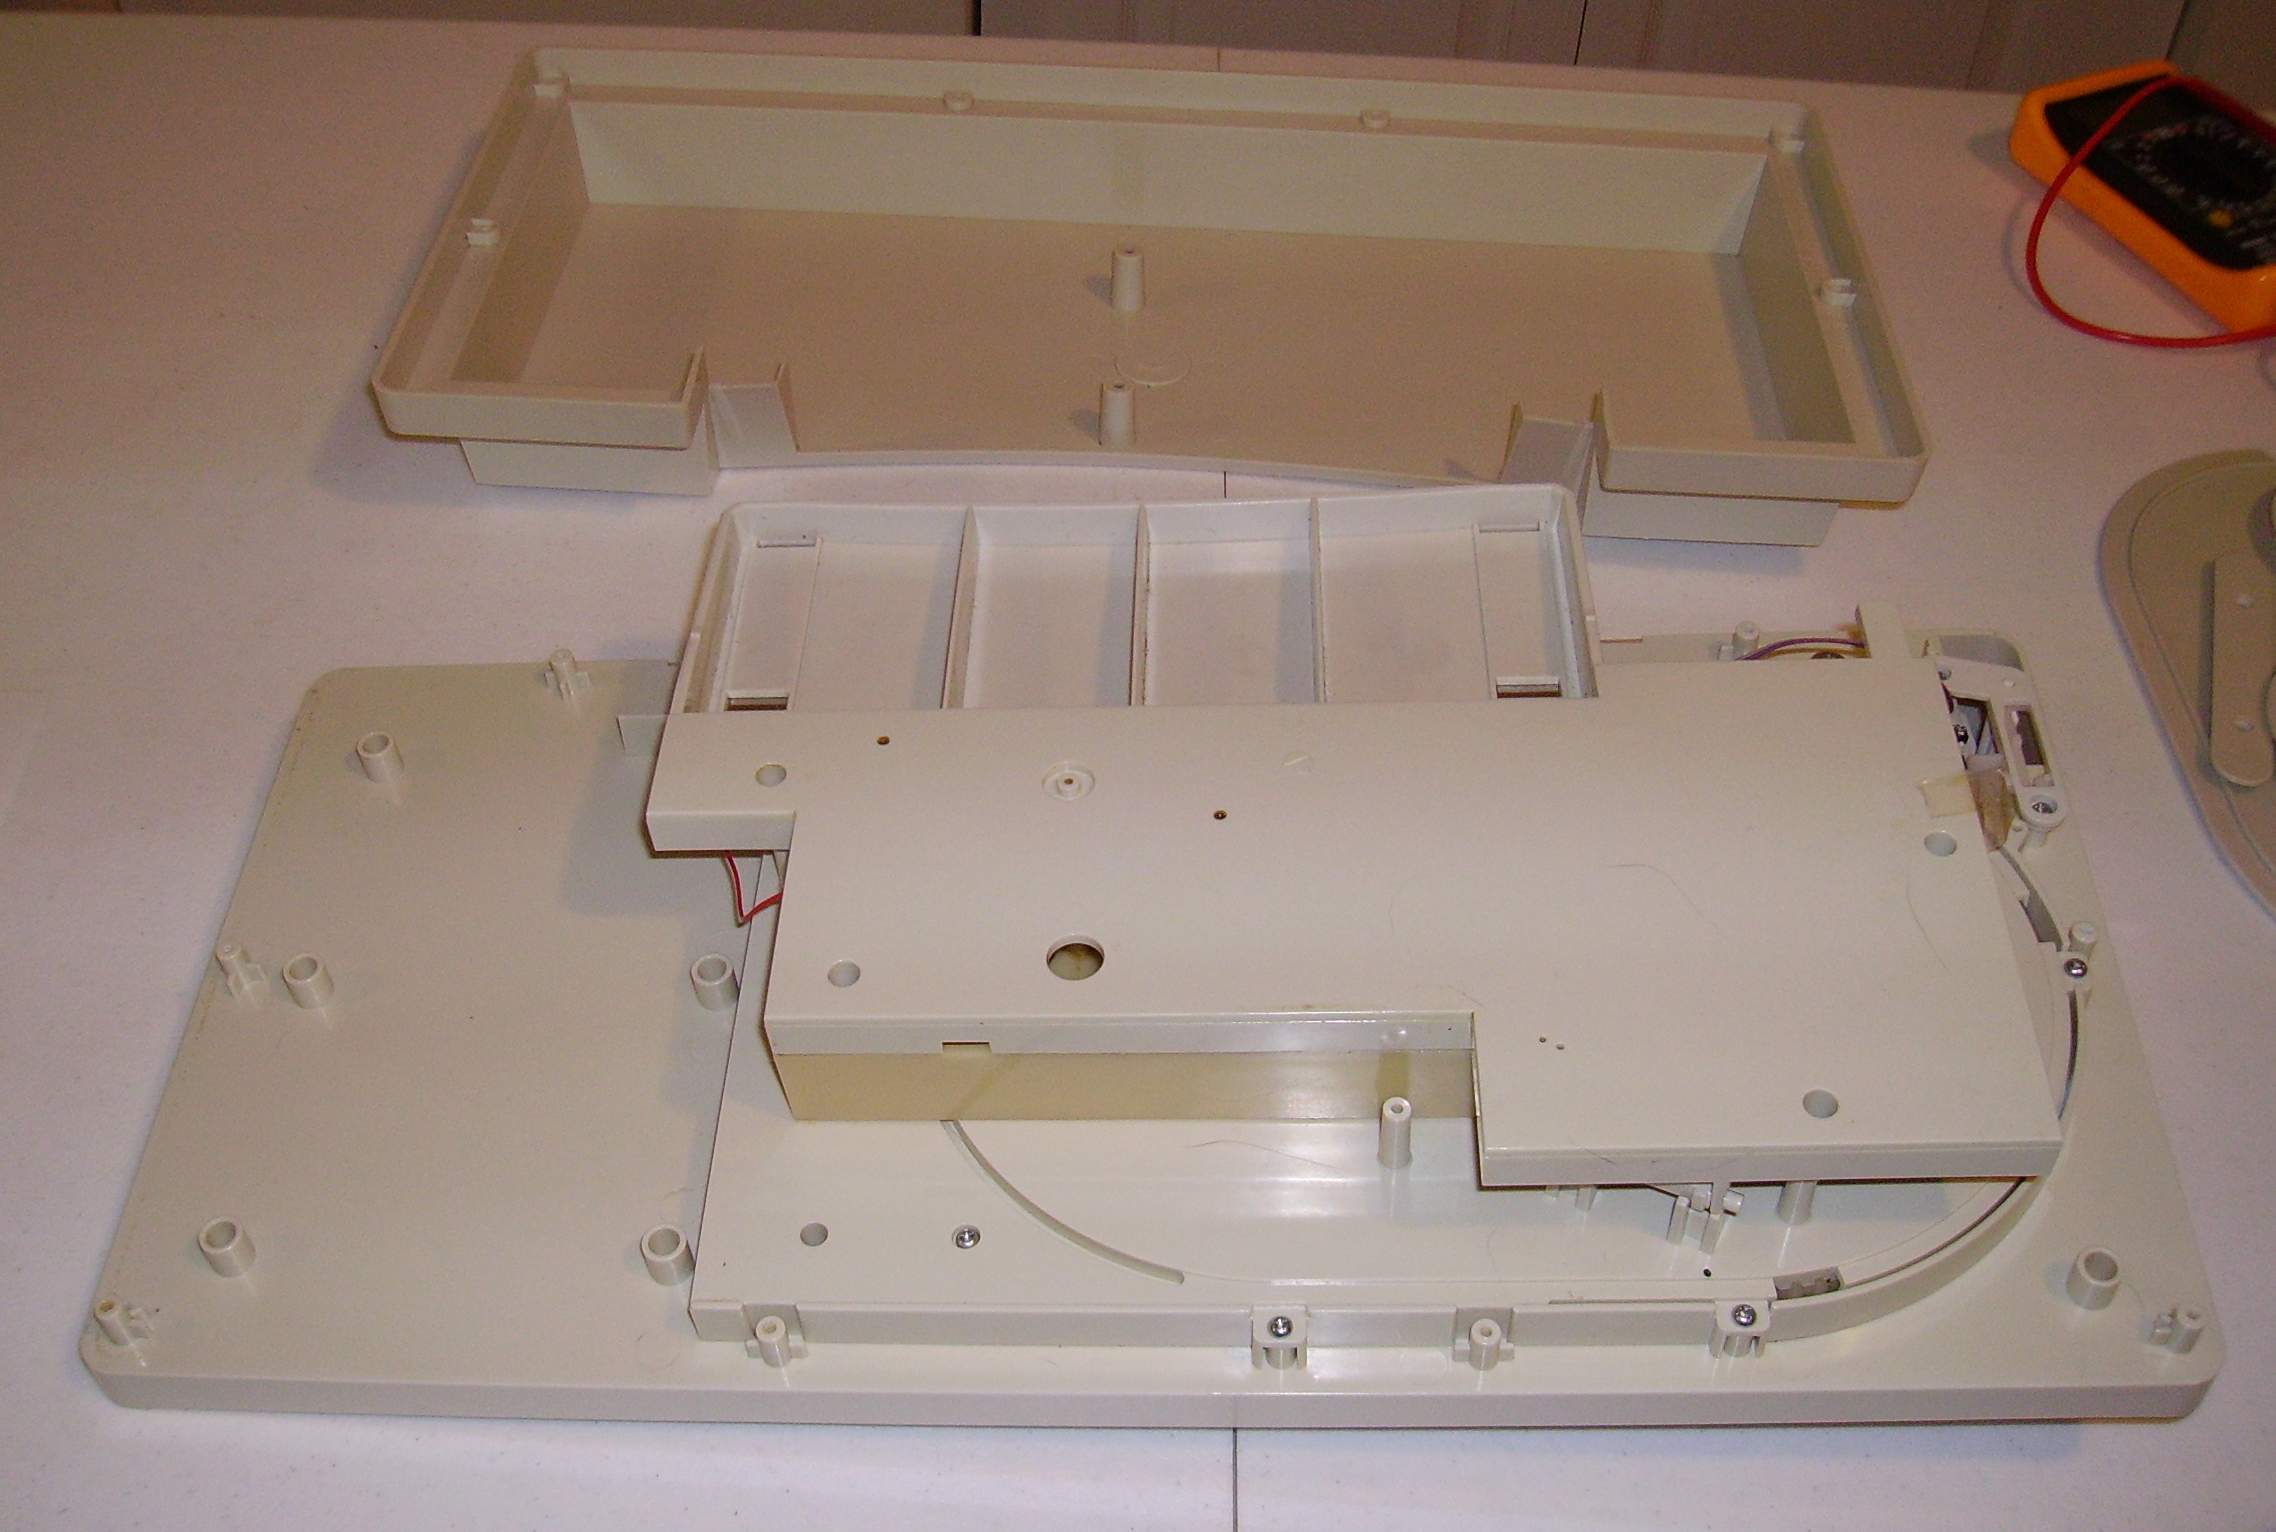
9. Remove the six screws from the tray housing. |
 |
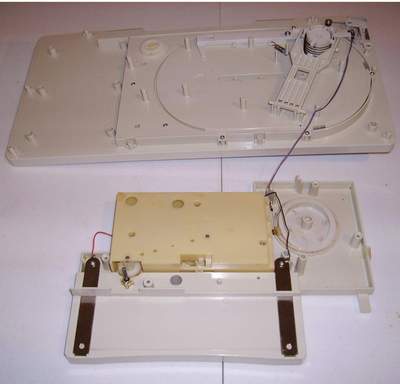
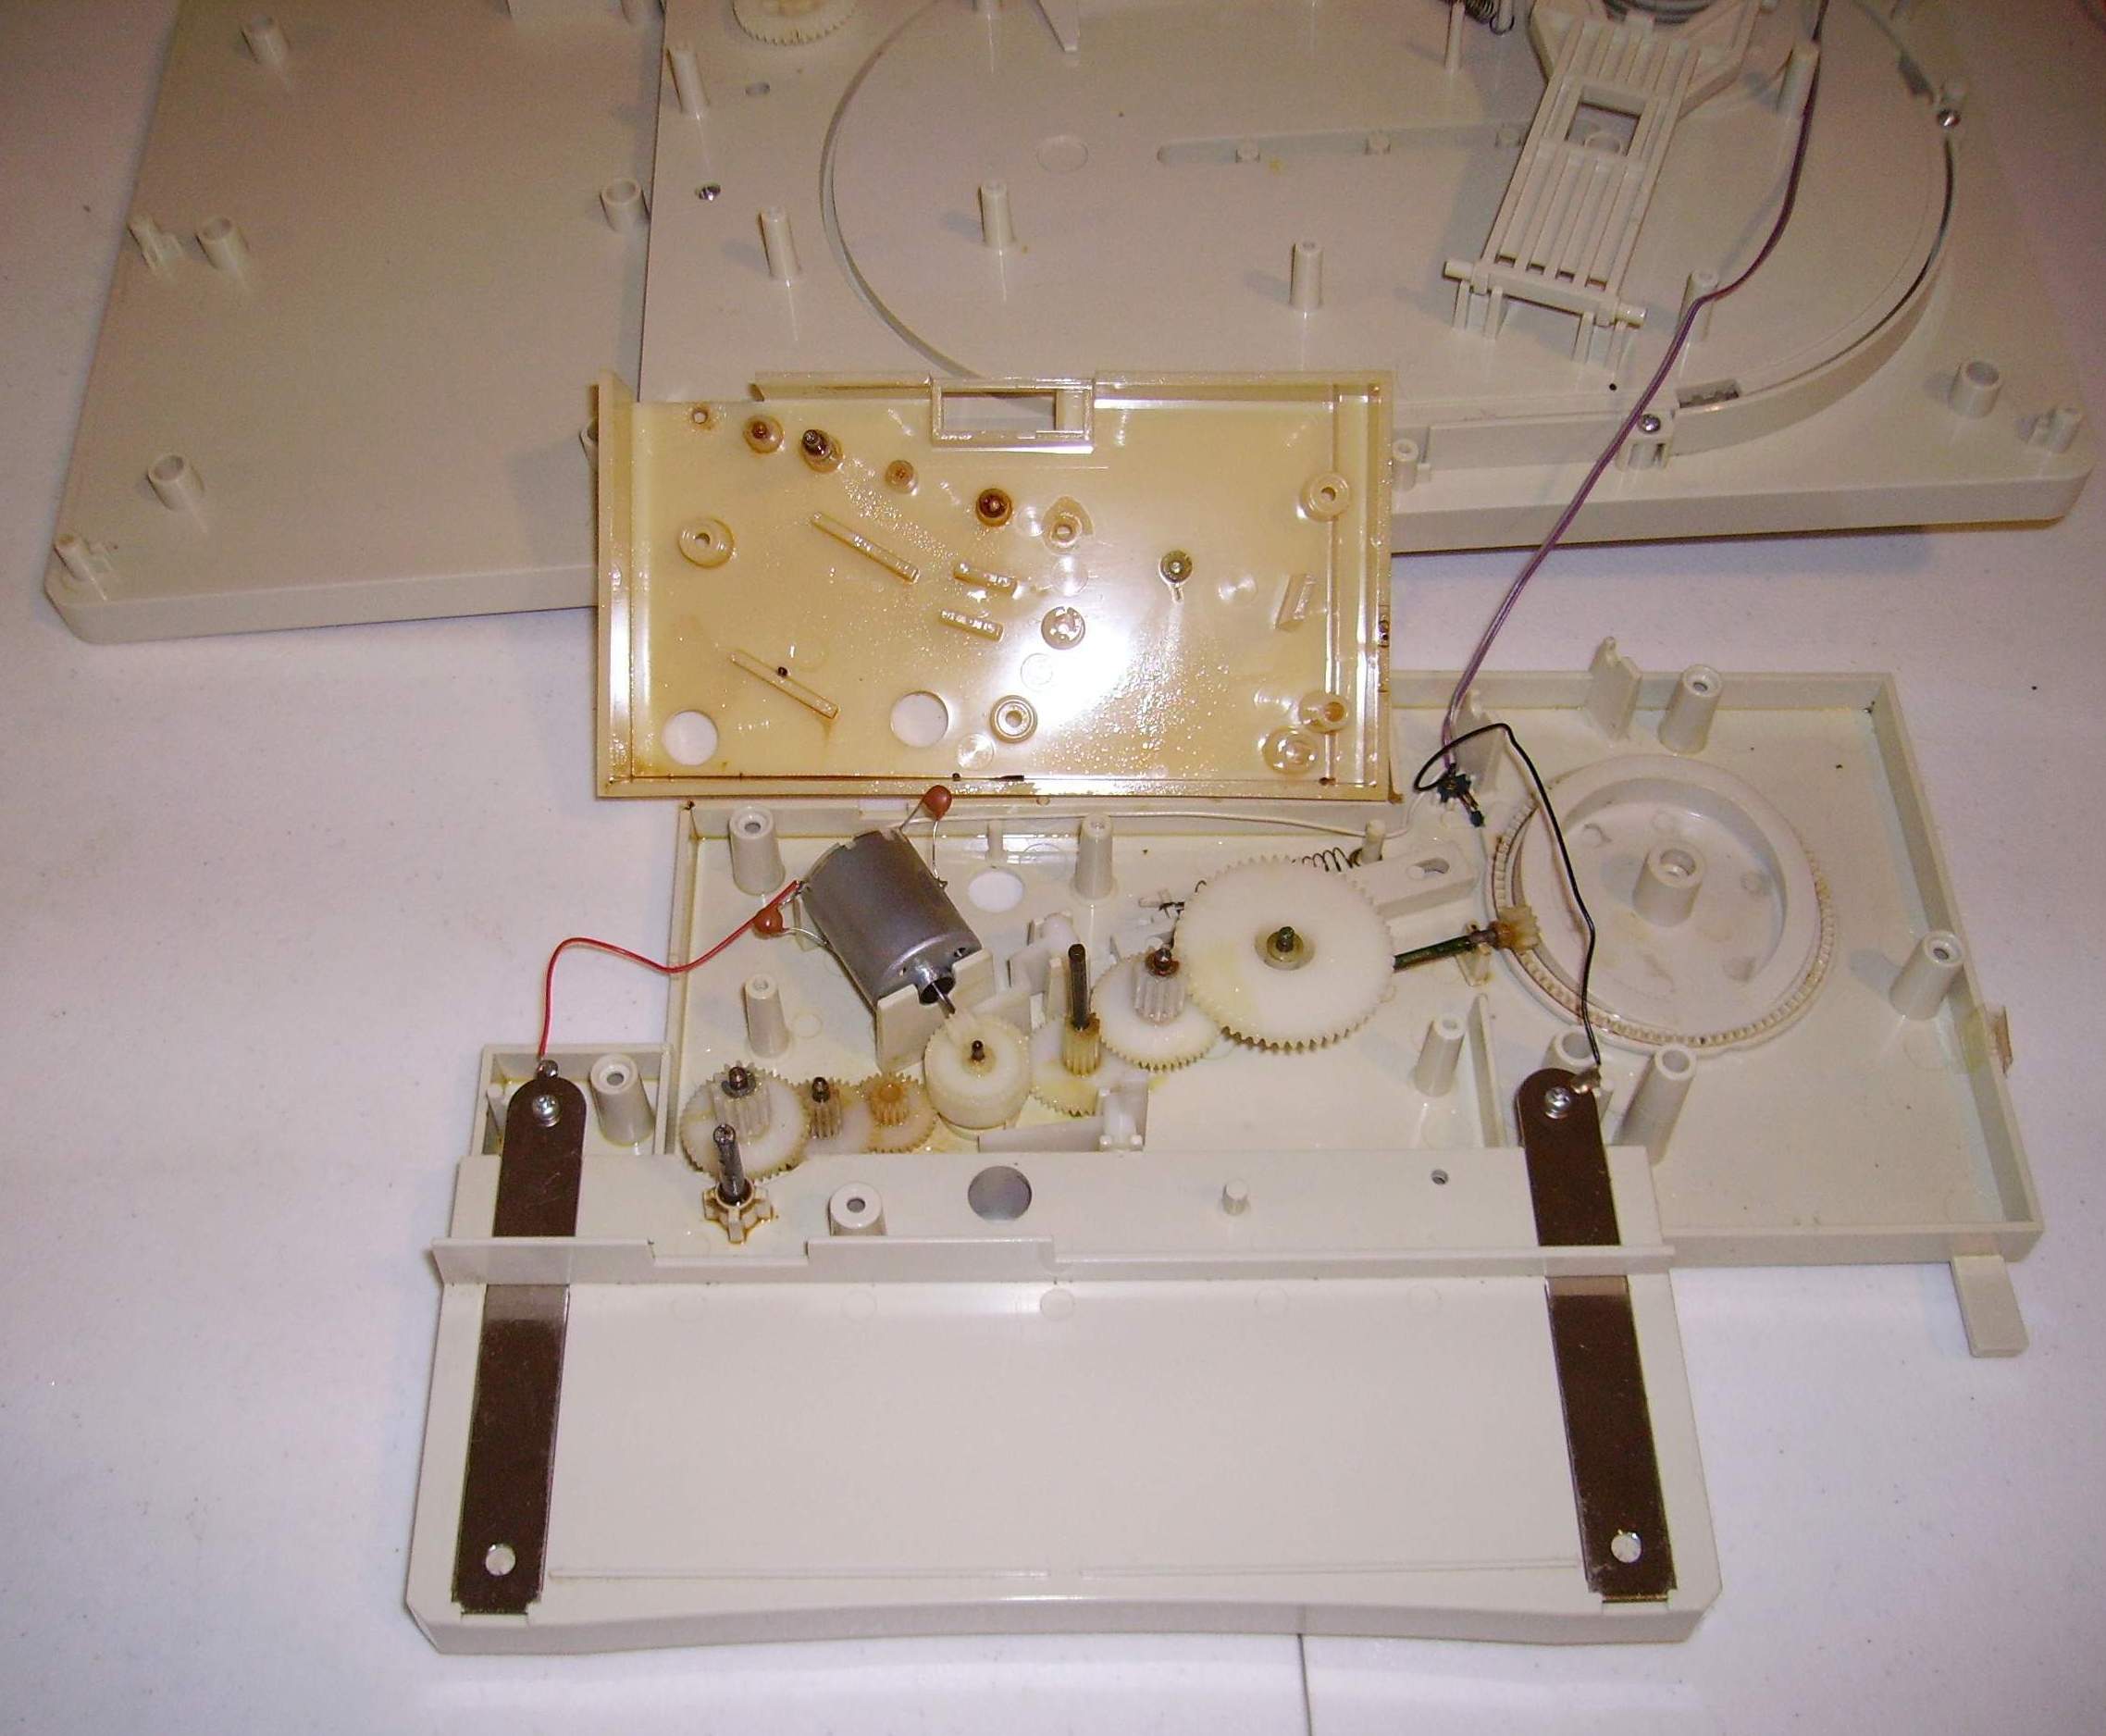
10. Separate the tray slowly and turn over and lay it on the table. Do not stretch the wire that attach to the tray top. |
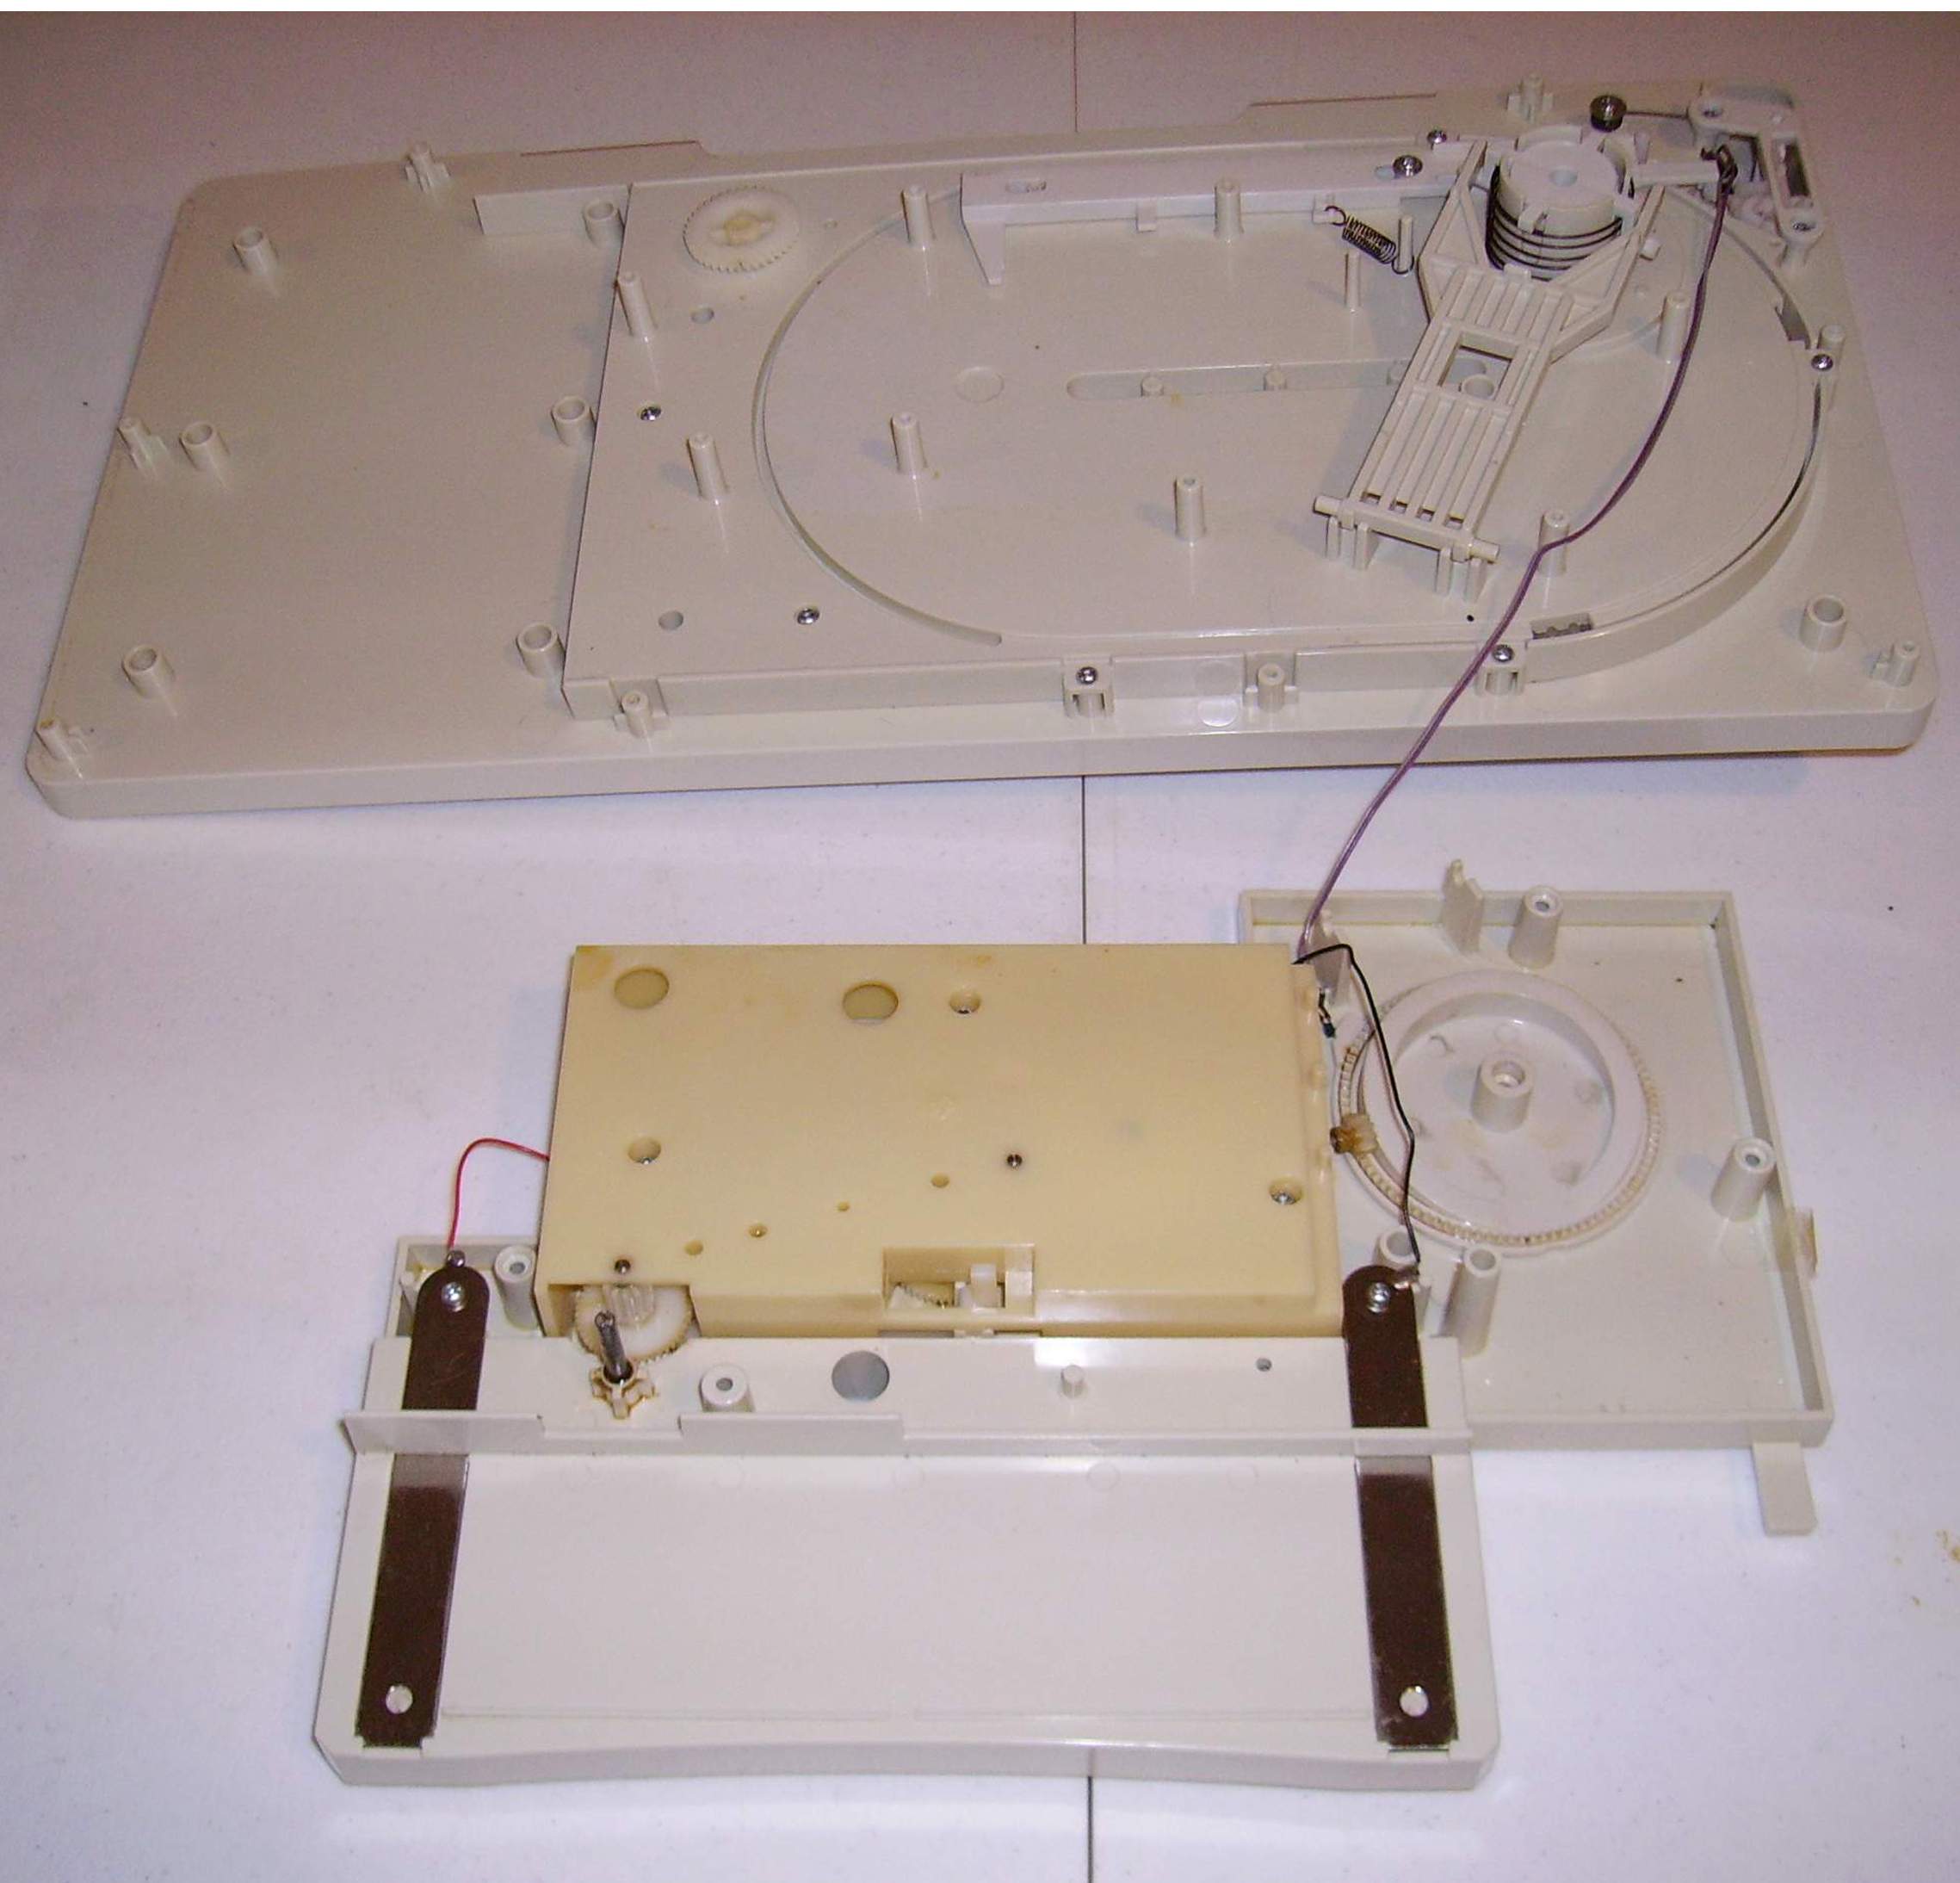
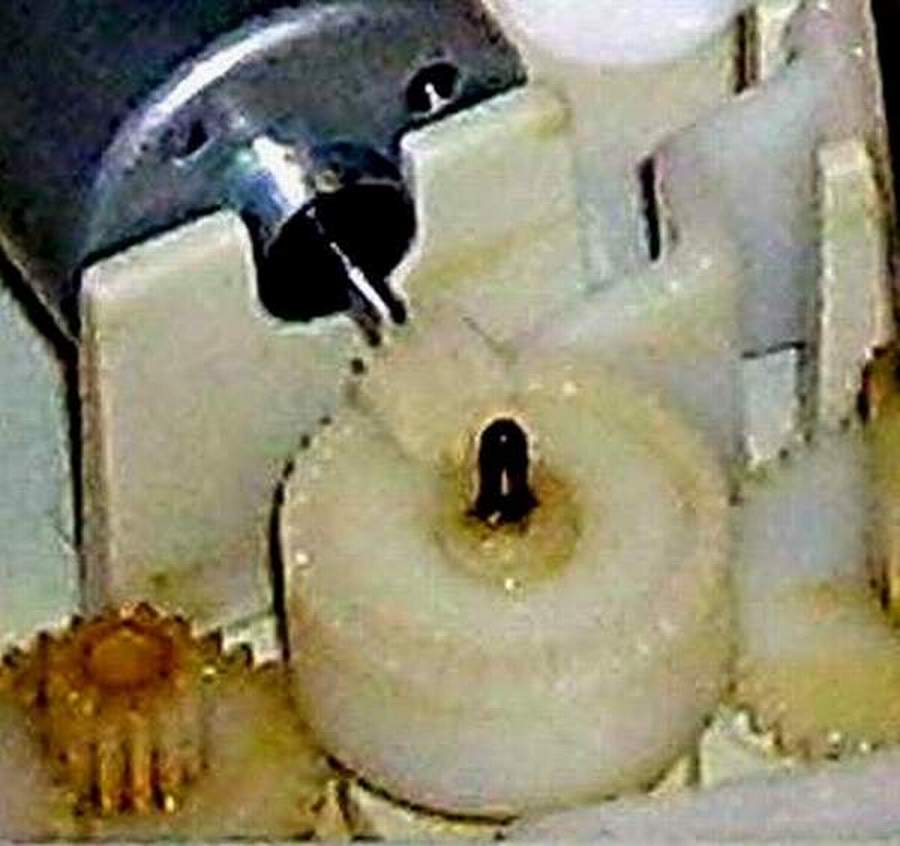
11. Remove the four screws from the gear assembly and separate it carefully. The gears are attached to both sides of the gear box. - - BE CAREFUL - - |
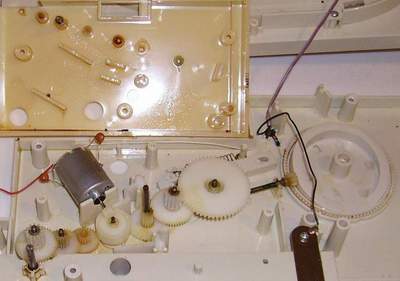
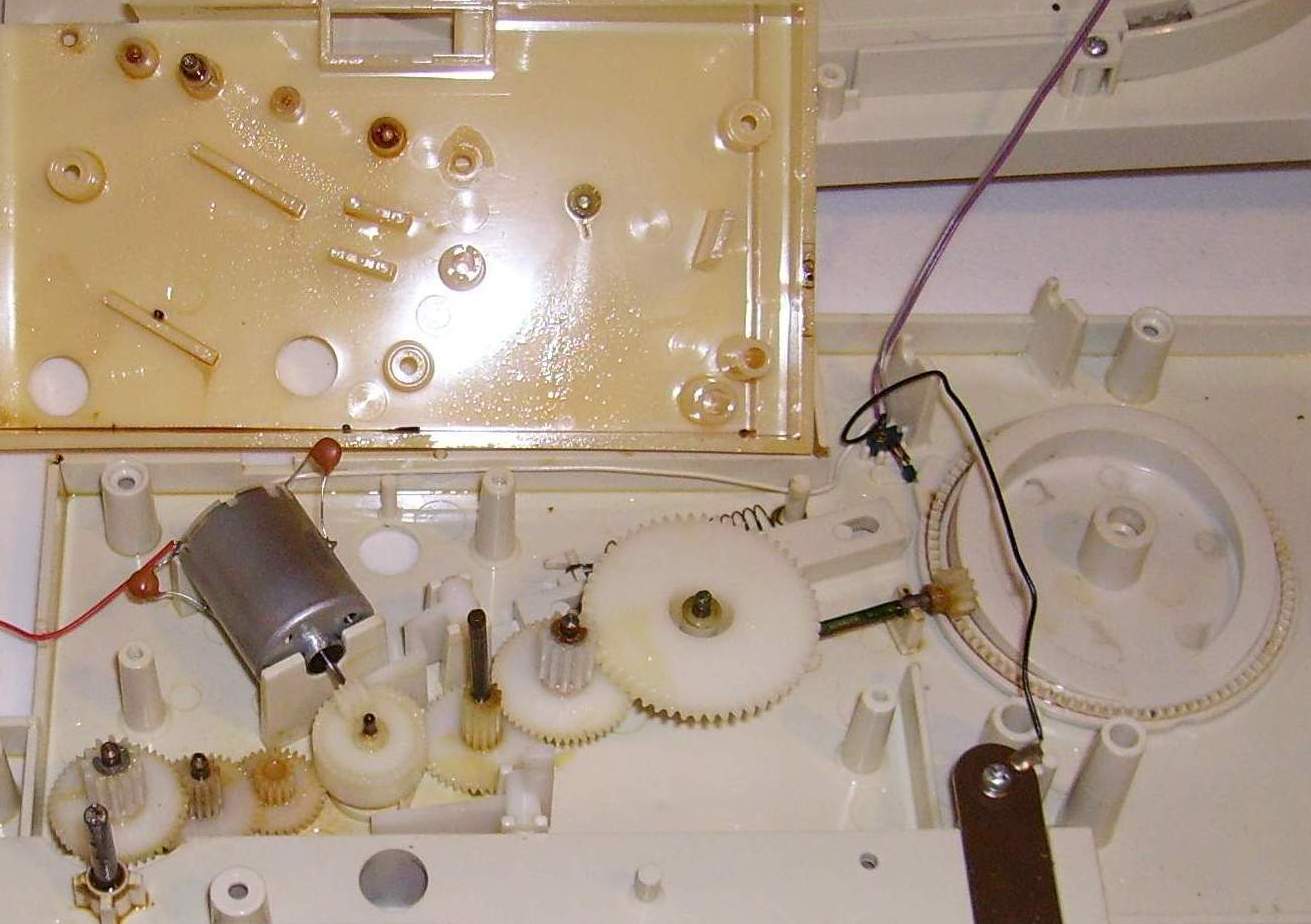
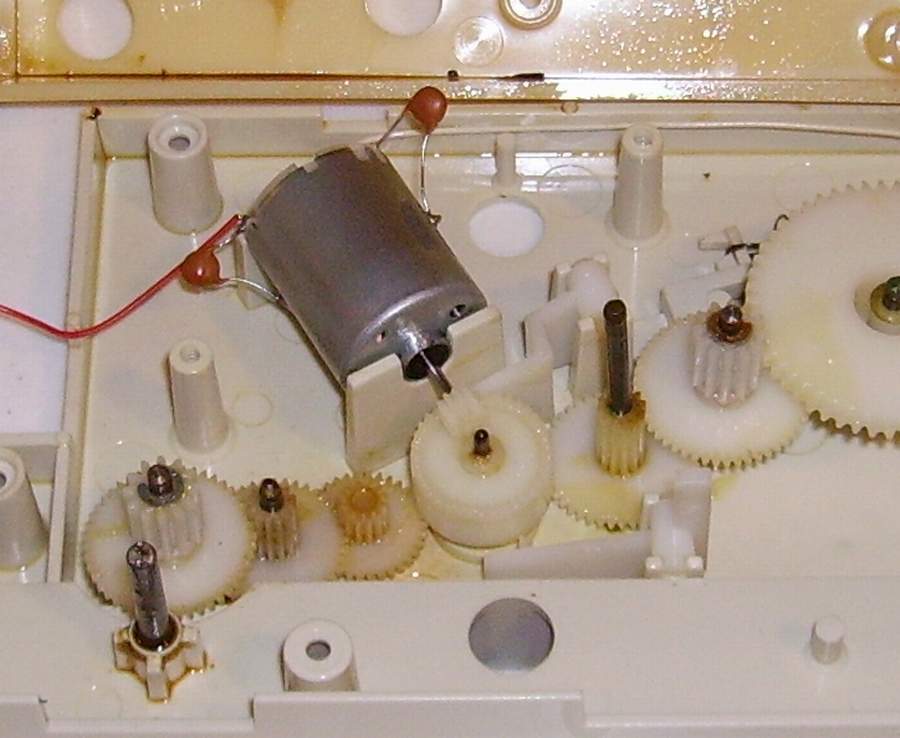
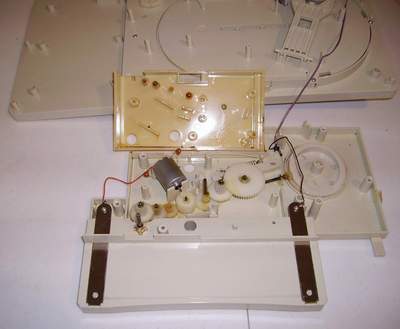
12. Inspect the box to insure that the gears mesh correctly and there are no stripped teeth on the gears. In this picture the gear on the motor is not meshing with the other gear. It is loose and slipped forward on the motor shaft. |

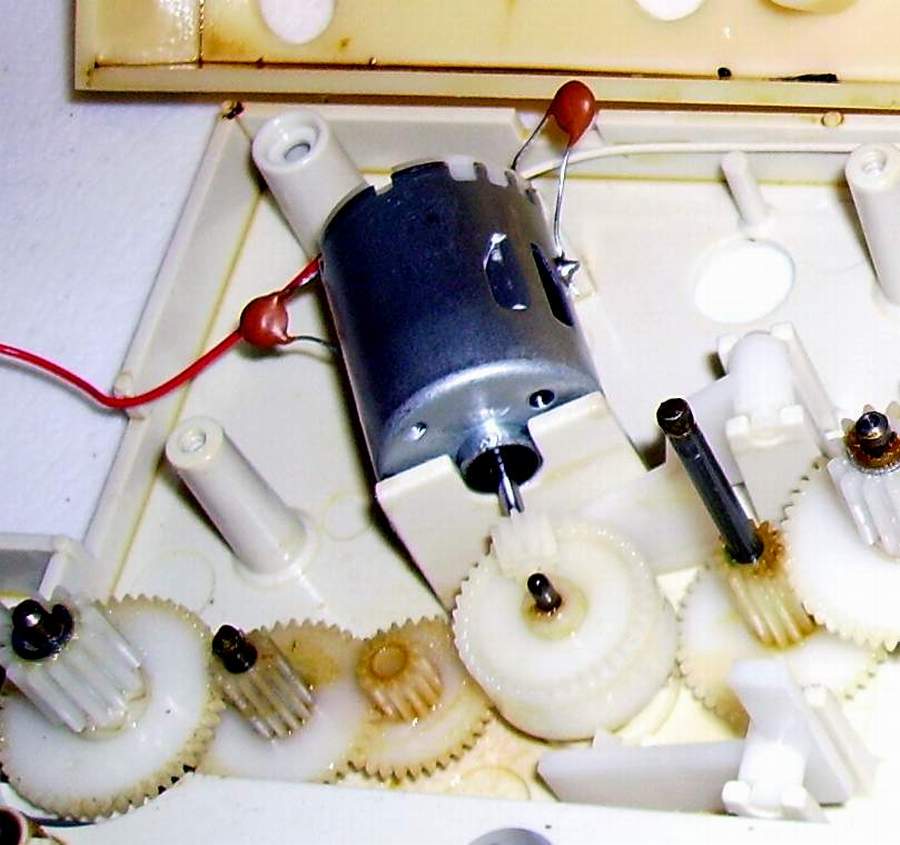
13. A test and closer view of the motor shows that it is loose on the shaft. |
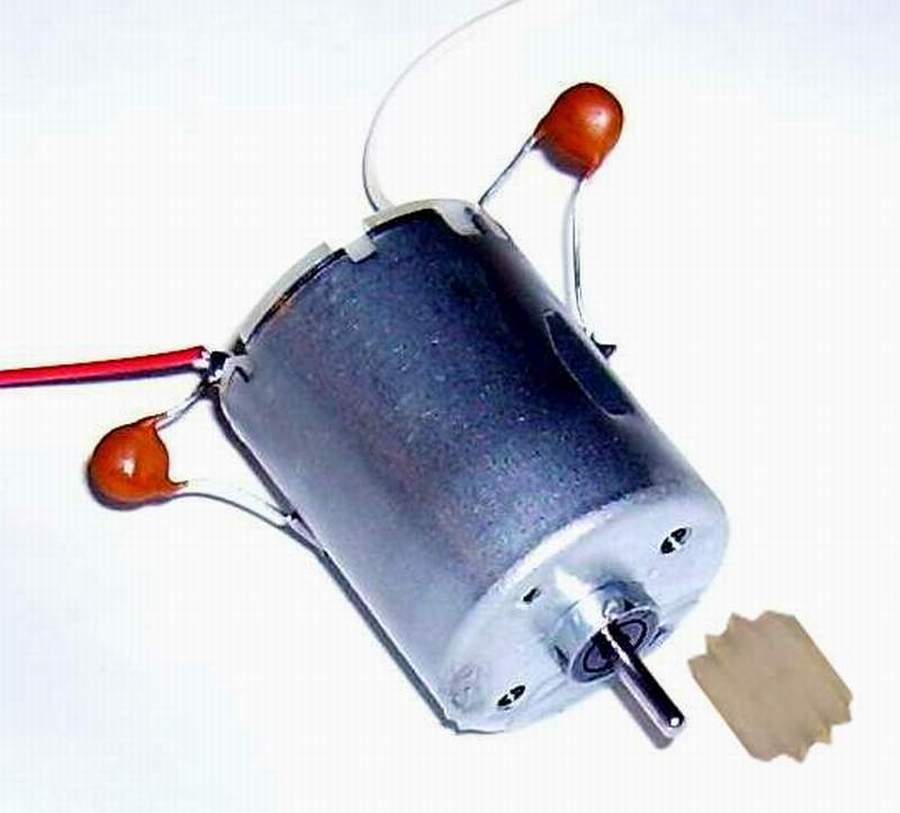
Repair of the Omnibot 2000 Tray/Motor Gear14. Remove the motor with the gear and repair.
15. Fasten the gear to the motor shaft through knurling the motor shaft. Remember this is a old gear and reinstall the motor/gear.
|
To Reassemble Reverse the Procedure
 |
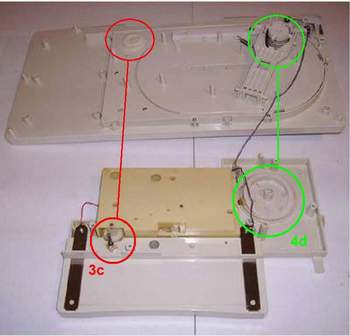 |
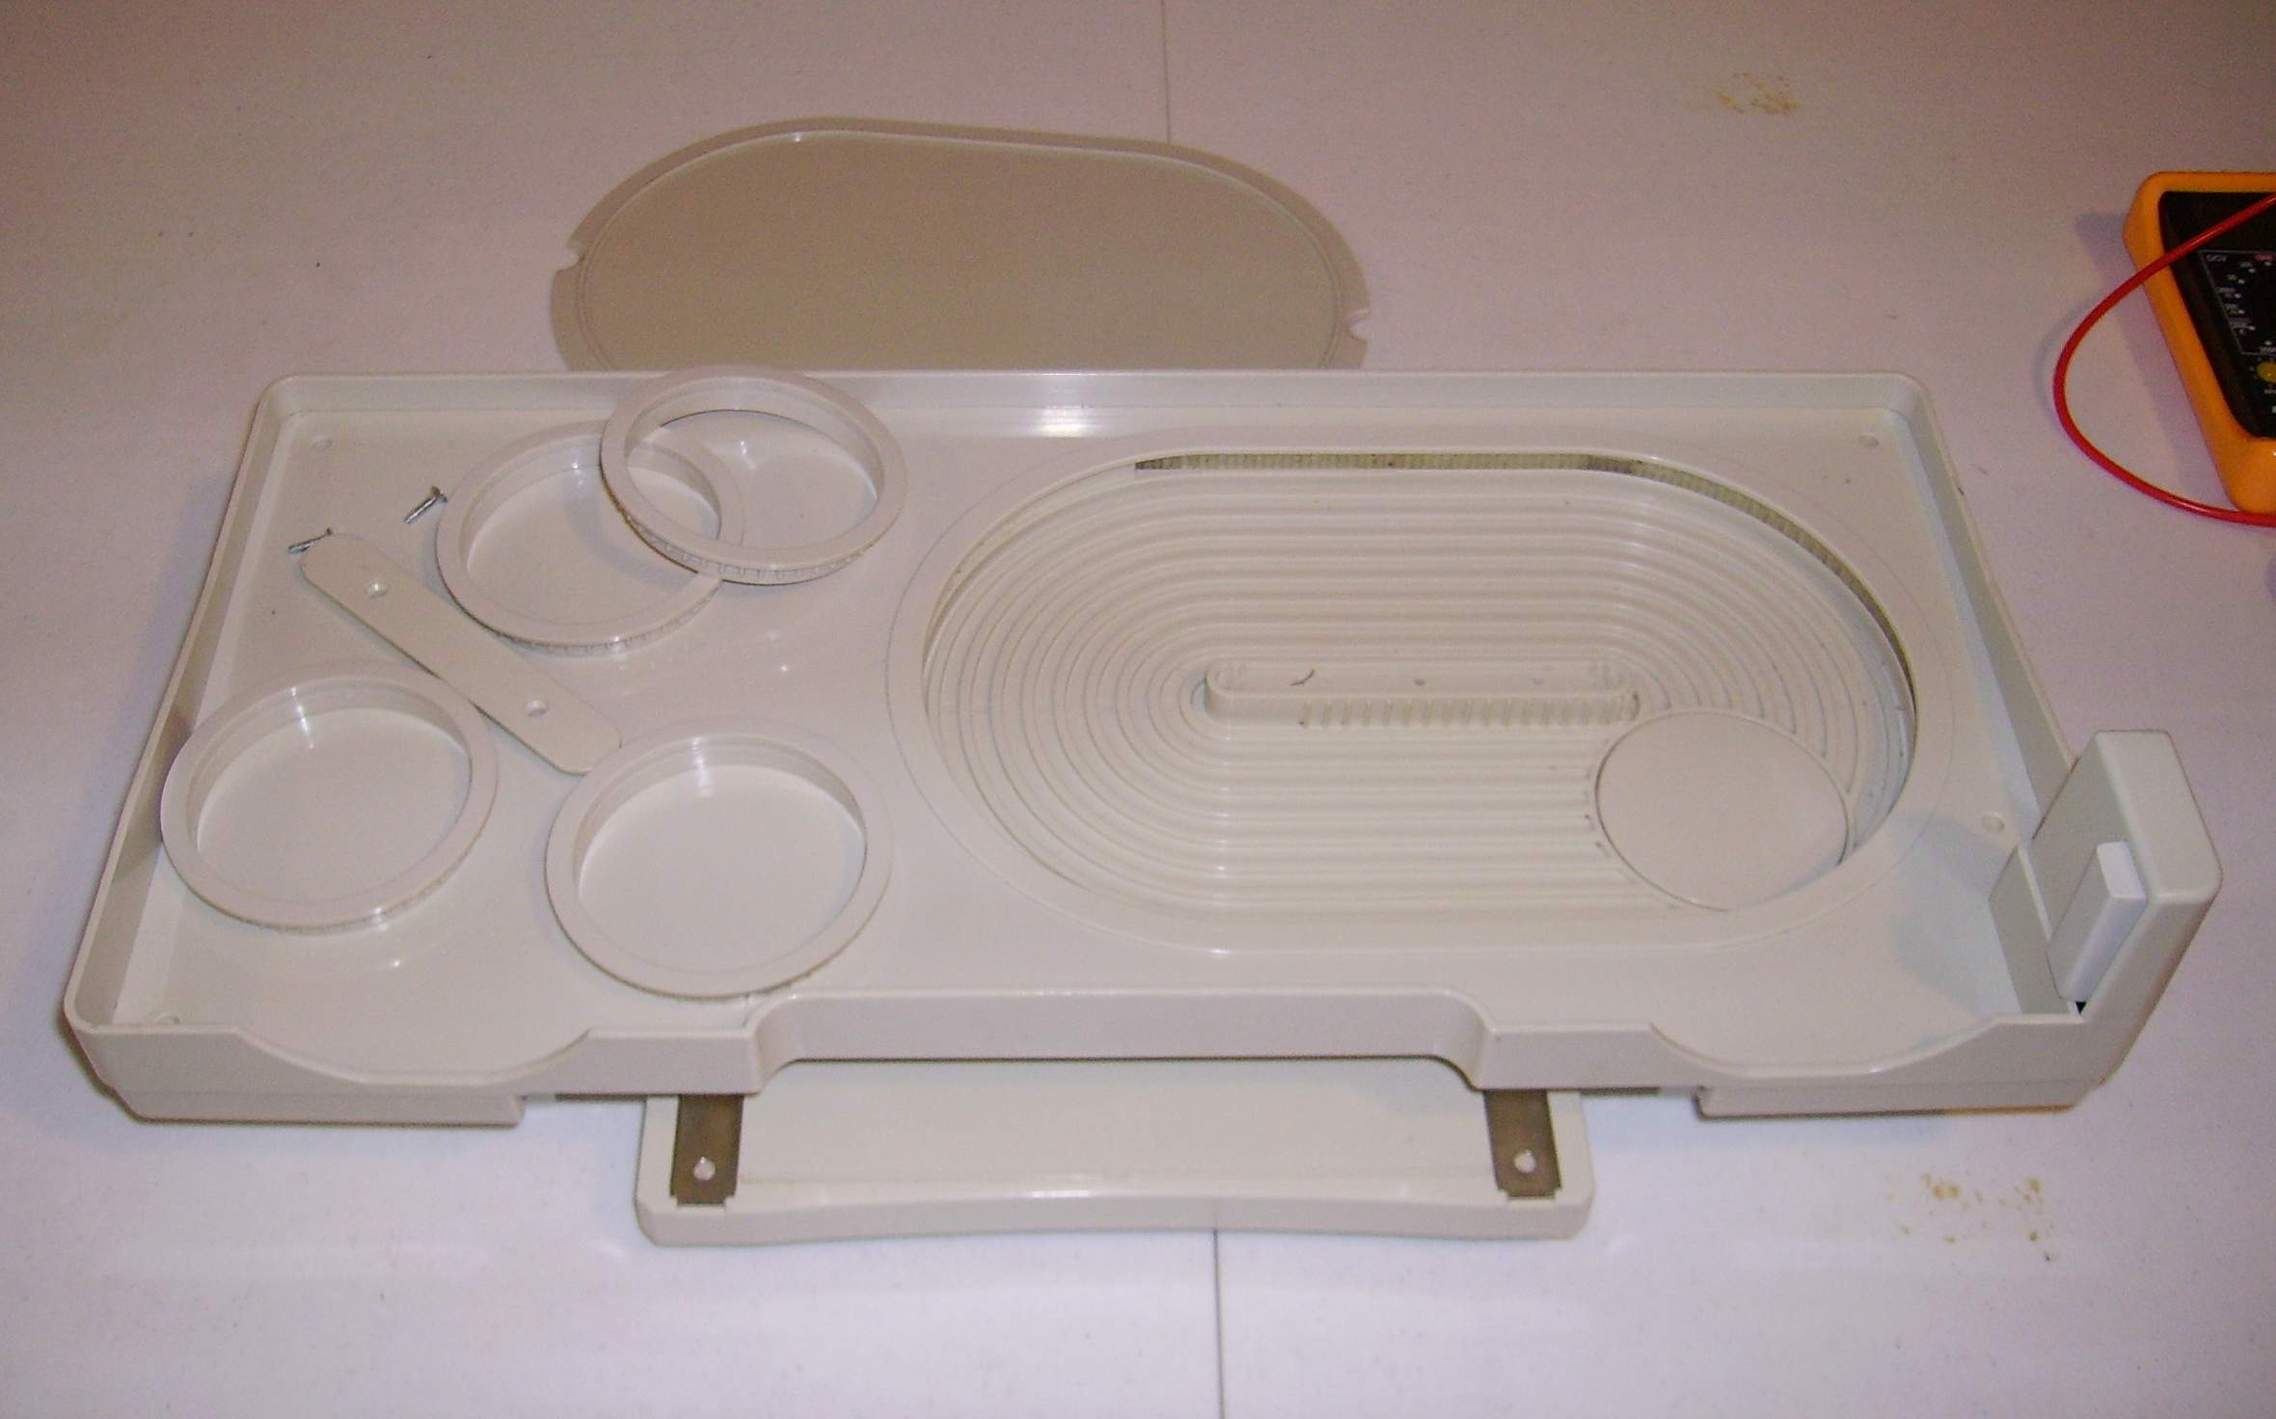
| 3C. This gear moves the travelling belt in the tray. Use this gear to move the belt. Do not move it unless needed. 4D. This is the gear/cam that moves the tray platform up and down when it is aligned. |
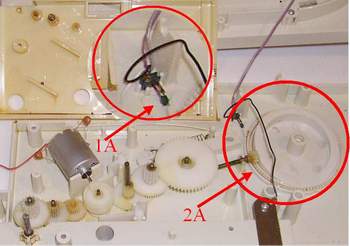
1A. This switch can be damaged if the gear travels in the wrong direction. It allows the tray to retain power on the motor until it goes through one cycle. 2A. This is the cam that travels in the counter clockwise direction. |
|
|
There is no warranty expressed or implied with this procedure. By using any information from this web site, you agree not to hold responsible this site, me, nor any of its representatives, for any injuries and/or damages, both physical and/or psychological, that may arise from the use and/or misuse of anything derived from this site. The user further agrees that such information/pictures does not constitute any guarantee of accuracy, safety or reliability, and that cannot be held responsible for any way. The user agrees to proceed at their own risk.
|